Resurfacing a cracked pool surface is defined as removing the damaged finish layer, repairing any structural defects, and applying a new waterproof coating to restore safety, appearance, and water retention. The industry term for this process is pool replastering or pool resurfacing, and it covers everything from simple crack patching to full shell refinishing. Cracks left untreated allow water to seep into the shell, corrode rebar, and trigger far more expensive repairs down the road. Delaying resurfacing can increase future repair costs by up to 30%, which means acting early protects both your pool and your budget. Whether you are dealing with hairline crazing or a crack you can fit a coin into, this guide gives you a clear path forward.
How to identify and classify cracks in your pool surface
Not every crack demands the same response. The first step is knowing what you are looking at before spending a dollar on repairs.
Surface crazing describes a network of hairline cracks covering less than 20% of the pool surface. These cracks are shallow, do not penetrate the shell, and typically result from age, chemical imbalance, or thermal expansion. They look alarming but rarely threaten structural integrity on their own.
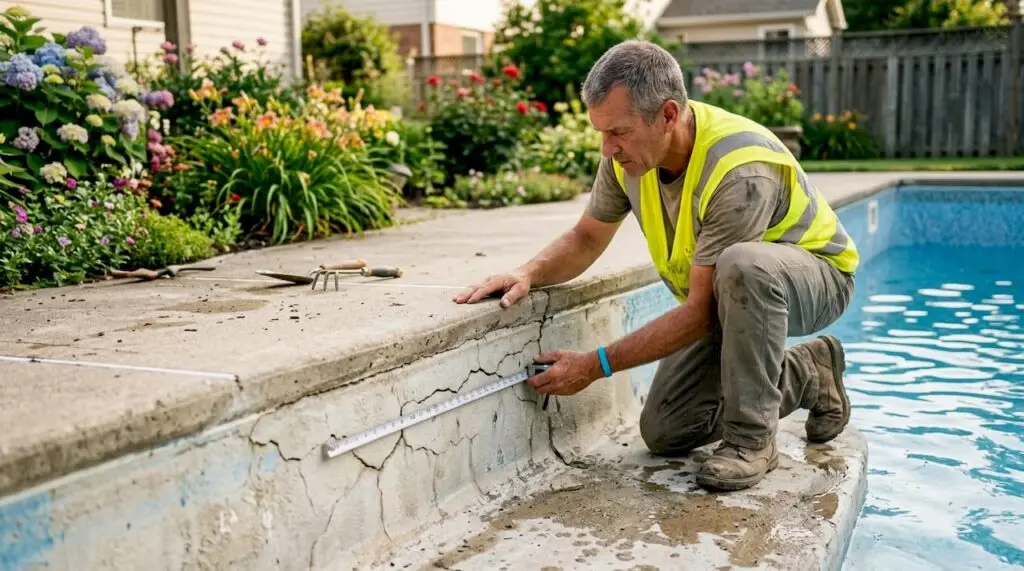
Structural cracks are a different story. Cracks wider than 1/8 to 1/4 inch, or any crack accompanied by measurable water loss, signal that the shell itself has moved or fractured. These require professional assessment before any finish work begins.
Watch for these warning signs that point to structural problems:
- Rust stains bleeding through the plaster surface (corroding rebar beneath)
- Cracks that grow wider over time or after temperature swings
- Visible movement or separation along a crack line
- Water loss exceeding the normal evaporation rate of about 1/4 inch per day
- Soft or hollow spots when you tap the surface
A simple bucket test confirms abnormal water loss. Fill a bucket with pool water, set it on a step, and mark both the pool waterline and the bucket waterline. After 24 hours, compare the two drop rates. If the pool loses significantly more water than the bucket, you have a leak, not just evaporation. Understanding crack types and structural risks helps you communicate clearly with any contractor you bring in.
Pro Tip: Run the bucket test with the pump on for 24 hours, then repeat with the pump off. A bigger drop with the pump running points to a plumbing leak rather than a shell crack.
When to choose targeted crack repair versus full resurfacing
The decision comes down to three factors: crack severity, pool age, and total cost over time.
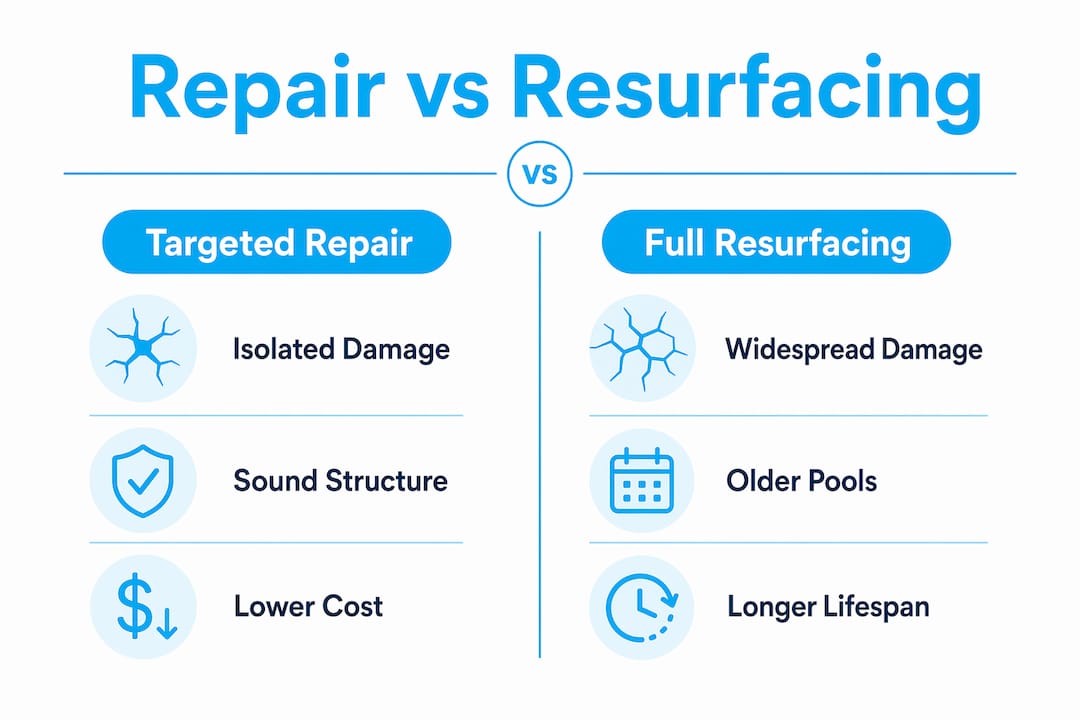
Targeted crack repair makes sense when damage is isolated, the shell is structurally sound, and the existing finish still has years of life left. Crack repairs cost between $50 and $1,200 and typically last 1–3 years. That lifespan is short, which means repeated patching on an aging surface often costs more in the long run than committing to a full resurface.
Full resurfacing costs between $6,000 and $30,000 depending on pool size, finish material, and regional labor rates. That investment buys a finish lifespan of 5–30+ years depending on the material chosen. Delaying resurfacing increases the risk of structural damage and compounds total repair expenses over time.
Here is a quick comparison of finish materials and their expected lifespans:
| Finish material | Typical lifespan | Relative cost |
|---|---|---|
| Standard white plaster | 5–10 years | Lowest |
| Quartz aggregate plaster | 10–15 years | Moderate |
| Pebble aggregate finish | 15–20+ years | Higher |
| Micro-ceramic or composite | 20–30+ years | Highest |
Micro-ceramic and composite finishes outperform traditional plaster in both durability and maintenance requirements. They cost more upfront but reduce the frequency of future resurfacing cycles.
One factor many homeowners overlook: underwater repairs carry a 30–40% lower functional lifespan compared to dry repairs because water prevents proper bonding. If a contractor proposes patching cracks without draining the pool, ask pointed questions about long-term adhesion.
Choose full resurfacing when:
- The existing finish is more than 10 years old
- Cracks appear across multiple areas of the pool
- You see rust staining or evidence of rebar corrosion
- Patching has already been done once or twice without lasting results
Step-by-step guide to resurfacing a cracked pool surface
This process requires careful sequencing. Skipping steps is the most common reason resurfacing fails early.
1. Drain the pool safely
Drain slowly and monitor groundwater conditions. Hydrostatic pressure during drainage can cause the shell to pop out of the ground if the water table is high. Most contractors install a hydrostatic relief valve at the main drain before draining to equalize pressure. Never drain a fiberglass pool without professional guidance, as the shell can warp permanently.
2. Inspect for leaks and structural damage
With the pool empty, walk the entire shell and mark every crack with chalk. Pressurize the plumbing lines to check for pipe leaks. Any leak found now costs far less to fix than one discovered after the new finish is applied. Leak tests and plumbing pressurization before resurfacing prevent premature finish failure caused by unseen water infiltration.
3. Prepare the surface
Full removal to bare shell is labor-intensive but required for mechanical adhesion. Contractors use sandblasting or hydro-blasting to strip the old plaster over several days. Applying new finish directly over old plaster risks delamination, where the new layer peels away from the shell within months. Acid washing alone is not sufficient for a full resurface; it is only appropriate for light cleaning between patch repairs.
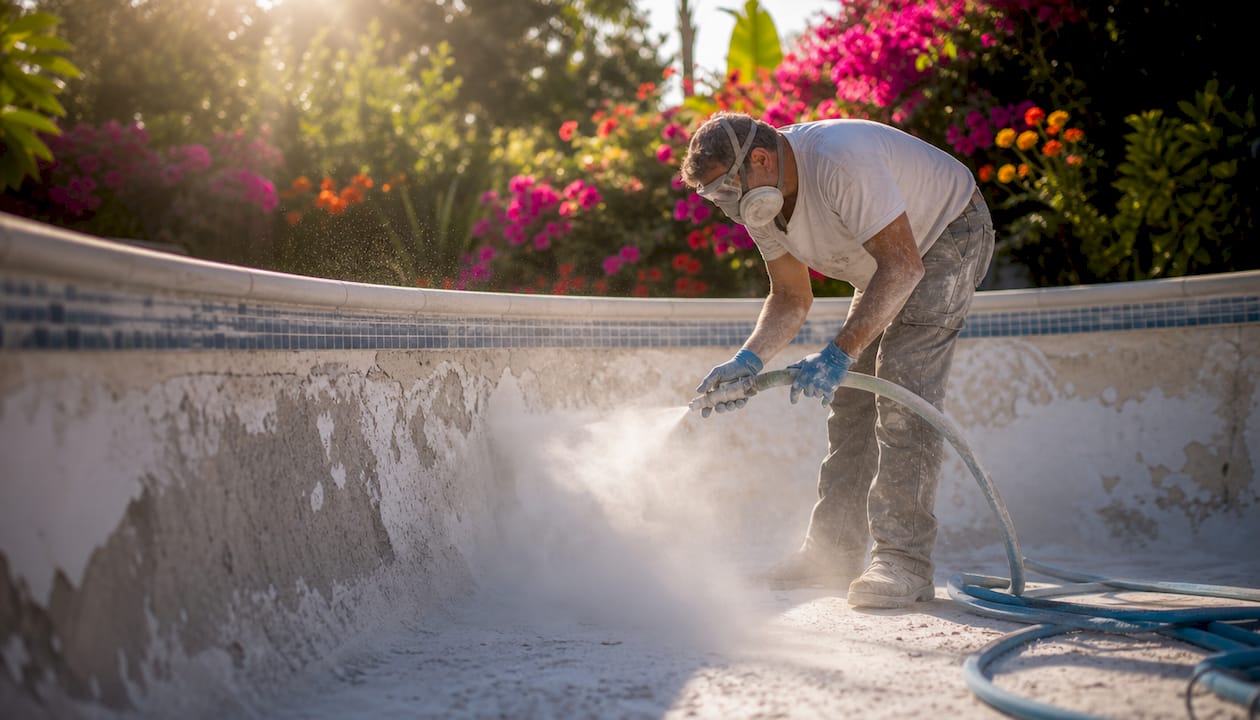
4. Repair structural cracks
Address every crack before applying any finish material.
- Hairline cracks: Fill with hydraulic cement or a pool-grade epoxy filler, then feather smooth.
- Structural cracks wider than 1/8 inch: Epoxy injection or carbon fiber reinforcement is required. These repairs cost $1,000–$3,000 but protect the entire resurfacing investment.
- Corroded rebar: Cut out the damaged section, treat exposed metal with a rust-inhibiting primer, and patch with hydraulic cement before plastering over.
Pro Tip: If you find rebar corrosion, do not just patch the surface above it. Exposed rebar must be treated and encapsulated, or the rust will expand and crack the new finish within 1–3 years.
5. Apply the new finish
Mix and apply the chosen plaster or aggregate finish in sections, working quickly to maintain a wet edge and avoid lap marks. The crew must complete the entire pool in one continuous session to prevent cold joints, which are weak seams where two application sessions meet. Mechanical adhesion from the blasted shell surface is what holds the new finish in place long term.
6. Cure the new finish properly
New plaster requires controlled water chemistry and daily brushing for at least 28 days to prevent mottling, rough spots, and premature scaling. The National Plasterers Council (NPC) 28-day startup protocol specifies pH, alkalinity, and calcium hardness targets that must be maintained throughout curing. Fill the pool immediately after plastering and do not allow the surface to dry out at any point during the fill.
| Curing stage | Timeframe | Key action |
|---|---|---|
| Initial fill | Day 1 | Fill continuously; no stopping |
| Early chemistry | Days 1–7 | Test and adjust pH and alkalinity twice daily |
| Active brushing | Days 1–28 | Brush entire surface once daily |
| Full cure | Day 28+ | Resume normal chemical program |
Common mistakes and troubleshooting in pool surface repairs
Most resurfacing failures trace back to one of four errors.
- Skipping structural assessment: Applying a new finish over an unresolved structural crack guarantees the crack will telegraph through the new surface within months. Fix the shell first, always.
- Inadequate surface prep: Old plaster left on the shell blocks mechanical bonding. Applying new finish over old plaster causes delamination, which looks like bubbling or peeling within the first season.
- Poor water chemistry during curing: Aggressive water with low calcium hardness etches new plaster. High pH causes scaling. Both problems appear within the first 28 days and are largely irreversible without re-plastering.
- Rushing the curing period: Homeowners eager to swim sometimes add shock or algaecide too early. These chemicals discolor and weaken fresh plaster before it has fully hardened.
“Water chemistry management after resurfacing affects surface durability more than the finish material itself. A premium pebble finish cured in poorly balanced water will fail faster than standard plaster cured correctly.”
If you notice rough patches or discoloration in the first week, test your water chemistry immediately and adjust before the plaster sets permanently. Early intervention saves the finish. Reviewing pool renovation mistakes before starting any repair project helps you avoid the most costly errors.
Key takeaways
Resurfacing a cracked pool surface requires correct crack classification, full surface preparation to bare shell, structural repair before any new finish is applied, and a strict 28-day curing protocol to achieve lasting results.
| Point | Details |
|---|---|
| Classify cracks first | Hairline crazing and structural cracks wider than 1/8 inch require completely different repair approaches. |
| Full prep is non-negotiable | Sandblasting or hydro-blasting to bare shell is required; skipping this step causes delamination. |
| Repair structure before finish | Corroded rebar and structural cracks must be treated before any new plaster is applied. |
| Curing takes 28 days | Follow the NPC startup protocol with daily brushing and twice-daily chemistry checks for the first week. |
| Delaying costs more | Postponing resurfacing can increase total repair costs by up to 30% as damage compounds over time. |
Why I always start with the shell, not the surface
After working on hundreds of pool transformations in the Greater Phoenix area, the pattern I see most often is homeowners focused on how the pool looks rather than what is happening underneath. A fresh white plaster finish is appealing. But if the rebar beneath it is corroding, that finish will crack again within two years regardless of how well it was applied.
The pools that hold up the longest are the ones where we spent the most time on inspection and structural repair before a single bag of plaster was mixed. That means pressurizing plumbing lines, probing every crack, and treating exposed metal before closing it up. It is not glamorous work, but it is what separates a resurface that lasts a decade from one that needs attention again in three years.
My honest advice: invest in high-performance aggregate or composite finishes if your budget allows. The upfront cost difference between standard plaster and a quality pebble finish is real, but the maintenance savings and extended lifespan make it the better value over a 10-year horizon. And if any contractor tells you they can resurface your pool without draining it or blasting the old surface off, walk away. That shortcut will cost you far more in the end. You can read more about the resurfacing process for homeowners to go into your project with full confidence.
— Brian
Wefixuglypools can restore your pool the right way
Cracked surfaces, rough plaster, and aging finishes are exactly what Wefixuglypools specializes in fixing across the Greater Phoenix area. With a decade of experience and hundreds of completed pool transformations, our team handles everything from structural crack repair to full pool remodeling and resurfacing with the attention to detail that makes results last.
We assess your pool’s structural condition before recommending any finish work, so you never pay for a resurface that sits on top of an unresolved problem. Financing options are available, and our team walks you through material choices, timelines, and maintenance expectations from day one. Reach out to Wefixuglypools today and get a professional assessment before your cracks become a much bigger repair bill.
FAQ
What is the difference between pool crack repair and resurfacing?
Crack repair patches isolated damage and typically lasts 1–3 years. Full resurfacing removes the entire old finish, repairs all cracks, and applies a new surface that lasts 5–30+ years depending on the material chosen.
How much does it cost to resurface a cracked pool surface?
Targeted crack repairs cost between $50 and $1,200. Full pool resurfacing ranges from $6,000 to $30,000 based on pool size, finish material, and local labor rates.
Can I resurface my pool without draining it?
No. Proper resurfacing requires draining the pool completely so the old surface can be blasted to bare shell. Underwater repairs bond poorly and carry a 30–40% shorter functional lifespan compared to dry repairs.
How long does new pool plaster take to cure?
New plaster requires at least 28 days of controlled water chemistry and daily brushing to cure fully. The National Plasterers Council startup protocol specifies pH, alkalinity, and calcium hardness targets that must be maintained throughout this period.
When should I fix cracked pool surfaces rather than wait?
Act as soon as you notice cracks wider than 1/8 inch, rust staining, or measurable water loss. Delaying resurfacing increases the risk of structural damage and can raise total repair costs by up to 30%.