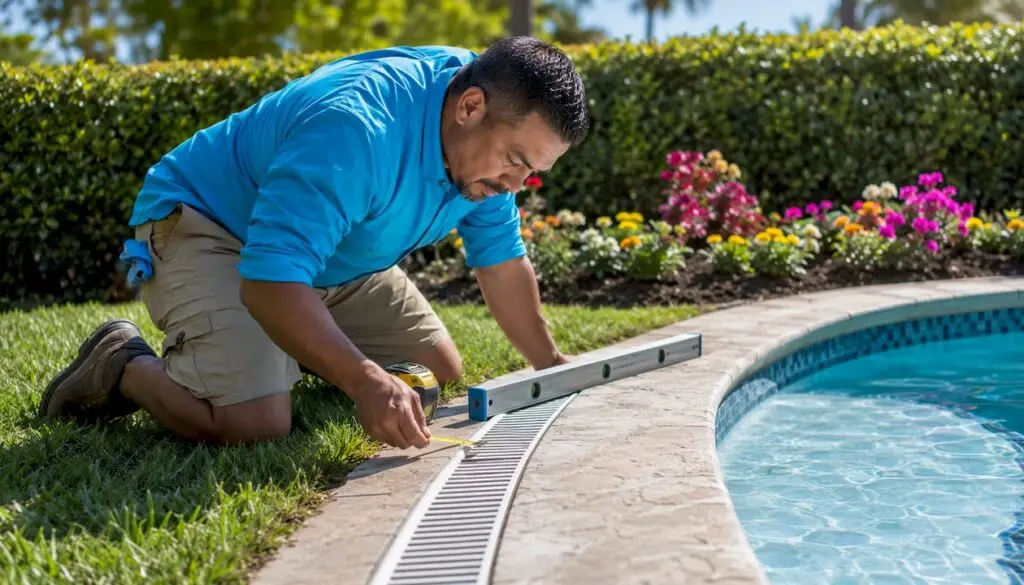
Most pool drainage problems trace back to three sources: improper grading that directs runoff toward the pool, clogged or undersized deck drains, and groundwater pressure building beneath the shell. Knowing which one you’re dealing with determines whether you grab a rake and a downspout extension or pick up the phone and call a licensed contractor.
Quick triage you can do right now:
- Walk the pool perimeter within an hour after rain and look for standing water, puddles that don’t clear within 30 minutes, or soil washing toward the coping.
- Run the bucket test: fill a bucket to pool-water level, set it on a step, and mark both water lines. After 48 hours, if the pool drops more than the bucket, you likely have a leak, not just evaporation.
- Check your skimmer baskets and visible drain grates for debris. A blocked grate can reverse designed water flow in minutes during a heavy storm.
Safety note before you go further: Never fully drain an inground pool without first confirming your groundwater level. An empty shell on a high-water-table lot can literally float out of the ground. If you see the liner bulging upward, coping separating from the shell, or cracks running along the waterline, stop using the pool and call a professional before doing anything else. Electrical equipment near standing water is also a serious hazard — shut off power to the pump and equipment pad before inspecting flooded areas.
Table of Contents
- How pool drainage problems actually form
- How to diagnose the source yourself
- Practical fixes, ranked from DIY to contractor work
- What repairs typically cost and how long they take
- How to prevent drainage problems before they start
- What we see in the field: patterns that predict bigger problems
- Safety, insurance, and permit considerations
- Key Takeaways
- What the field actually teaches you about drainage
- Wefixuglypools can assess and fix your drainage issues
- Useful sources and further reading
How pool drainage problems actually form
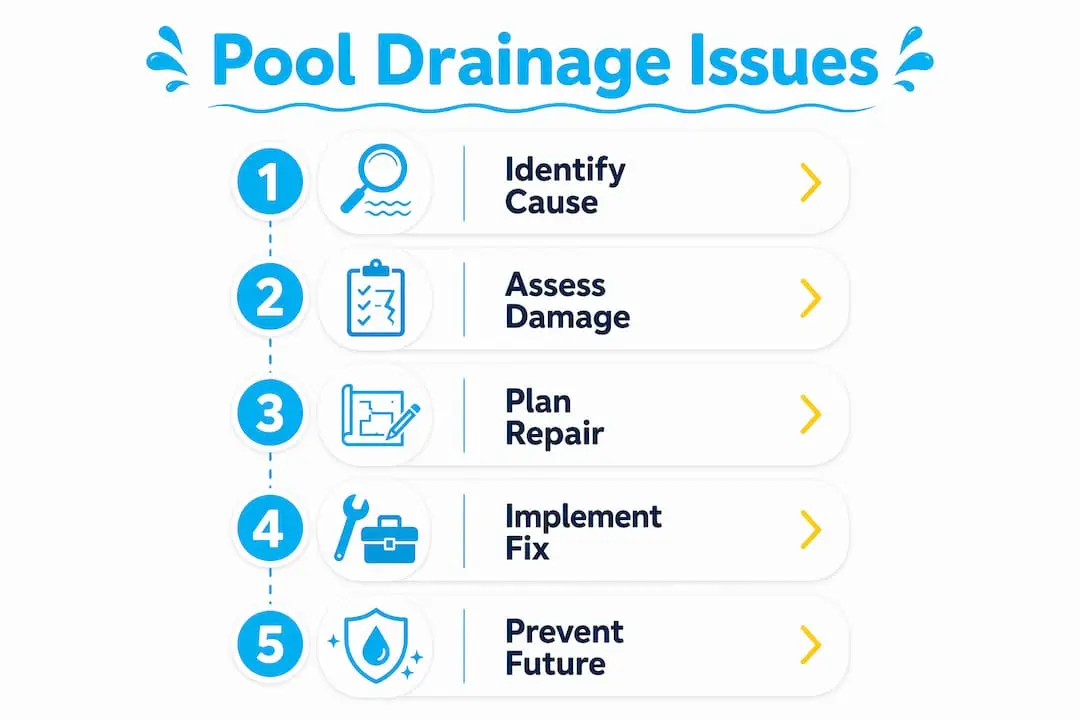
Understanding the mechanics behind each cause is what separates a permanent fix from a patch that fails again next rainy season. Drainage failures are nearly always multi-source: grading, roof runoff, and clogged drains combine to overwhelm a system, so addressing just one often leaves the problem unresolved.
Hydrostatic pressure and high groundwater
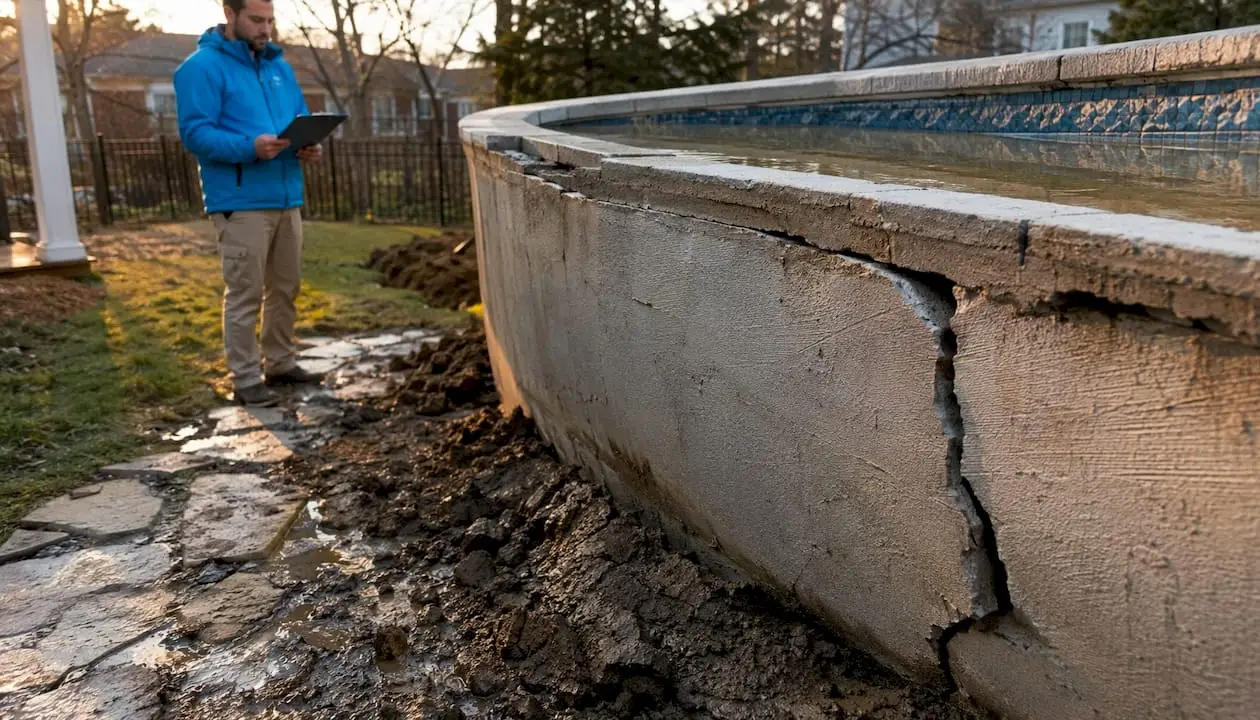
When the water table rises after heavy rain, groundwater pushes against the outside of your pool shell with significant force. On lots with naturally high water tables, this pressure can cause a vinyl liner to bulge upward from the floor, push a fiberglass shell partially out of the ground, or crack a concrete shell along stress points. A sump well with active pumping is the standard professional remedy on high-water-table properties because it relieves that pressure before it reaches the shell. The tricky part: the surface above can look completely dry while dangerous pressure builds below grade.
Improper grading and surface runoff
The deck and surrounding yard should slope away from the pool at 1/8–1/4 inch per foot. When that grade reverses, even slightly, every rain event sends a sheet of water directly toward the coping. Roof downspouts are a frequent hidden culprit: a single downspout discharging near the pool can dump hundreds of gallons of concentrated runoff into the pool’s influence zone during a moderate storm. Landscaping choices compound the problem. Raised garden beds, heavy mulch borders, and dense plantings can trap water and redirect it toward the pool, turning what looks like a beautiful yard into a drainage liability.
Clogged surface and channel drains
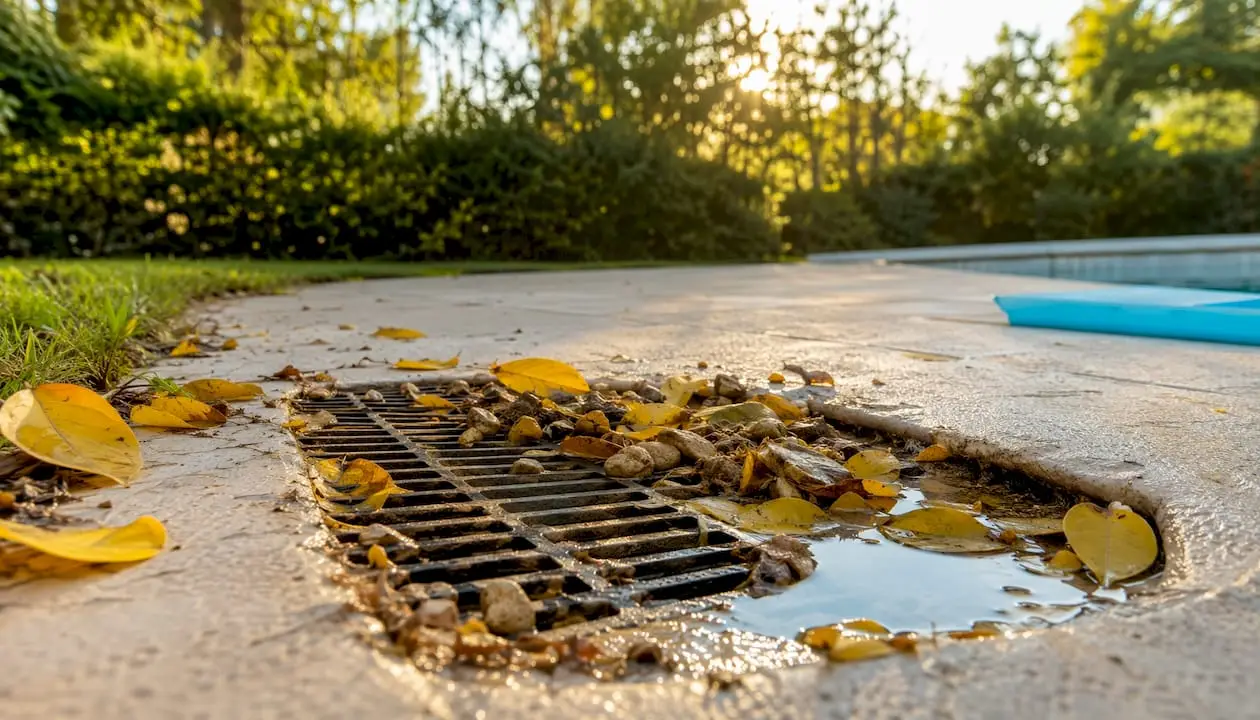
Deck drains and channel drains work only when they’re clear. Leaves, mulch, sediment, and small stones accumulate inside grates over time, and once a drain is even partially blocked, water backs up across the deck surface. During a heavy downpour, that reduced flow can cause rapid ponding around the coping and equipment pad. Undersized drains are a related problem: a drain that handles light splash-out fine can be completely overwhelmed by a summer thunderstorm on a large paved deck.
Plumbing leaks and pump malfunctions
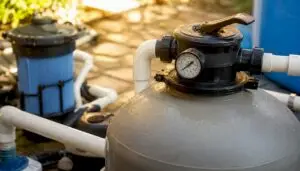
A leaking return line, suction line, or waste line can drain your pool while appearing perfectly normal from the surface. Wet soil near the equipment pad, unexplained increases in your water bill, or a pool level that drops even when the pump is off are all signals of a subsurface plumbing leak. Pump and filter issues add another layer: a multiport valve that isn’t sealing correctly can siphon water to the waste line during normal operation, and a cracked pump housing or loose fitting can cause water to escape unnoticed around the equipment pad.
The pattern that catches most homeowners off guard: a dry surface can conceal serious hydrostatic pressure building below grade. Even if you see no puddles, no wet soil, and no obvious runoff, groundwater can be pressing against your shell every time the water table rises after rain. A sump well or relief system is the only reliable defense on vulnerable lots.
Common symptoms and their likely causes at a glance:
- Liner bulging upward from the floor: hydrostatic pressure, high water table
- Muddy or cloudy water after rain: surface runoff washing soil and mulch into the pool
- Persistent puddles on the deck that don’t clear: clogged drains or reversed deck grade
- Wet soil or soggy grass near the equipment pad: plumbing leak in underground lines
- Pool level dropping faster than the bucket test baseline: structural crack or plumbing leak
- Coping separating from the shell: soil erosion or subsurface water movement undermining support
How to diagnose the source yourself
Running these checks in order saves you time and money. Start with the simplest visual tests before moving to anything that requires tools.
What you’ll need:
- A 5-gallon bucket
- Food coloring or pool dye tablets
- A flashlight
- A garden hose
- A level or a long string line
- A flathead screwdriver (for prying grates)
Ordered diagnostic steps:
- Visual walk after rain. Within an hour of a storm, walk the full perimeter. Note where water pools, which direction it flows, and whether it’s moving toward or away from the pool. Mark problem spots with a stake or flag.
- Bucket test for leak vs. evaporation. Fill a bucket to pool-water level, place it on a step, and mark both water lines. After 48 hours, compare. A pool dropping more than the bucket points to a leak. A pool losing more than a quarter inch of water daily beyond normal evaporation warrants immediate investigation.
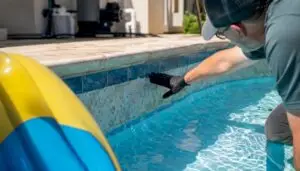
- Dye test for plumbing and main drain leaks. With the pump off and water still, squeeze food coloring near the main drain, skimmer throat, return fittings, and any visible cracks. If the dye gets pulled toward a specific point, that’s your leak location.
- Skimmer and drain flow check. Remove each grate with a screwdriver and inspect for debris buildup, cracks in the housing, and whether the drain cover sits flush. A loose or cracked cover can allow water to bypass the seal.
- Test pour for slope and discharge. Pour a bucket of water at the outer edge of the deck and watch where it flows. It should move away from the pool. If it flows toward the coping, you have a grading problem. Also check where your downspouts discharge: if they terminate within 6 feet of the pool, that’s a common fixable mistake that contributes to chronic saturation.
Matching results to causes:
- Puddles on deck, pump working fine, no water loss: grading or drain problem
- Water loss with pump on but not off: pressurized plumbing leak
- Water loss with pump on and off: structural crack or main drain seal failure
- Wet soil near equipment pad, no visible puddles on deck: underground plumbing leak
- Liner bulging, no recent heavy rain: groundwater pressure
Pro Tip: Check whether your deck slope meets the 1/8–1/4 inch per foot standard using a long level or string line. Lay it flat across the deck surface from the pool edge outward. If the low end is toward the pool, you’ve confirmed a grading problem. Also trace every downspout to its discharge point — a downspout emptying into a splash block that sits level or slopes inward is sending roof runoff straight toward your pool.
For equipment-related symptoms, the pool equipment troubleshooting guide from Wefixuglypools covers pump and filter diagnostics in detail and can help you separate a drainage issue from a circulation problem.
Practical fixes, ranked from DIY to contractor work
Not every drainage fix requires a crew. Here’s how to think about what you can handle safely and where to stop.
DIY fixes (tools, an afternoon, no permits)
- Clear grates and drain covers. Remove debris from all visible grates and channel drain slots. Rinse with a hose. Do this after every significant storm during leaf season.
- Re-seat a loose main drain cover. Scrape all old caulk from the cover and housing, apply pool-grade silicone, and tighten screws in a cross-pattern (top-left, bottom-right, top-right, bottom-left). Wait 24 hours for the silicone to cure before restarting the pump.
- Add downspout extensions. Flexible plastic extensions that attach to existing downspouts cost under $20 and can redirect roof runoff 4–6 feet away from the pool zone immediately.
- Install splash blocks. Concrete or plastic splash blocks under downspout outlets redirect discharge away from the pool and slow erosion at the discharge point.
- Small regrading or paver re-leveling. If one or two pavers have settled and created a low spot, lifting and re-bedding them on fresh sand is a manageable DIY task. Limit this to isolated spots.
- Flush a clogged pool line. A drain flusher tool placed in the skimmer or drain line can dislodge debris with high-pressure bursts without requiring a plumber for minor clogs.
Intermediate fixes (handyman or semi-pro, some permits may apply)
- Install a channel drain or slot drain along the pool perimeter to capture splash-out and surface runoff before it spreads.
- Cut in a spot drain at a persistent low point on the deck and tie it into an existing drain line.
- Re-route downspouts underground using solid PVC pipe to a daylight outlet at the property edge.
- Partial slab mudjacking or foam lifting to correct localized settlement without replacing the full deck.
- Install cleanouts on an existing French drain to allow future flushing without excavation.
Contractor-level fixes (licensed, insured, often permitted)
- Full perimeter regrade. When grade reversal affects the majority of the deck or yard, correcting it requires excavation, soil removal or addition, and re-compaction. This is not a DIY project.
- Full deck replacement. When more than 30% of slabs have shifted, targeted repairs are often ineffective and a full replacement is the more cost-effective long-term solution.
- Sump well installation with submersible pump and check valve. Required on high-water-table lots to relieve hydrostatic pressure before it reaches the shell.
- Perimeter French drain. Perforated pipe in washed gravel wrapped in geotextile fabric, typically in 6–12 inch wide trenches, intercepts groundwater and routes it to daylight or a sump.
- Liner or structural shell repair. Cracks in a concrete shell, a bulging vinyl liner, or a displaced fiberglass shell all require a licensed pool contractor. Attempting these without proper equipment risks making the damage significantly worse.
- Underground plumbing repair. Leaking return or suction lines beneath the deck require excavation, pressure testing, and proper pipe repair or replacement.
Red flags that mean stop and call a pro immediately:
- Any visible movement or cracking in the shell
- Large voids or hollow-sounding areas under the deck
- The equipment pad is flooding repeatedly
- The liner is bulging upward from the pool floor
- You smell gas or see sparking near electrical equipment
Reviewing common pool repairs to avoid before starting any DIY work can save you from turning a manageable fix into a costly mistake.
What repairs typically cost and how long they take
Ballpark figures below reflect typical U.S. contractor pricing. Actual costs vary by region, soil conditions, and project complexity. Always get at least three written quotes from licensed, insured contractors before committing.
| Repair Type | Typical U.S. Cost Range | Typical Timeline |
|---|---|---|
| Drain cleaning / grate clearing | — | Same day |
| Downspout re-routing (underground) | — | 1–2 days |
| Channel drain installation | — | 2–4 days |
| French drain (perimeter) | — | 3 days |
| Localized slab mudjacking / foam lift | — | 1–2 days |
| Sump well + submersible pump install | — | 2–5 days |
| Full deck replacement | — | 2–6 weeks |
| Plumbing line repair (underground) | — | 3 days |
Timeline realities:
- Same-day: visual checks, grate clearing, bucket and dye tests
- 1–3 days: downspout extensions, splash blocks, minor paver re-leveling, drain flushing
- 1–2 weeks: channel drain install, French drain on a standard lot, sump installation
- Several weeks: full deck replacement, full perimeter regrade, permitting for storm system tie-ins
Pro Tip: Schedule drainage work before your rainy season, not during it. Contractors in high-demand markets like Phoenix book weeks out during monsoon season, and wet soil conditions can delay excavation work. Asking for proof of license and insurance before signing anything isn’t optional — it’s the baseline for any contractor working on your property.
Small, proactive fixes like cleaning drains and re-routing downspouts often prevent the expensive deck replacements and shell repairs that result from years of ignored water damage.
How to prevent drainage problems before they start
The highest-return habit any pool owner can build is a simple pre- and post-rainy-season inspection. Catching a clogged grate or a reversed paver before the first big storm costs nothing. Fixing the structural damage that follows years of ignored drainage can cost tens of thousands of dollars.
Maintenance checklist by frequency:
- After every significant storm: Walk the perimeter, check all grates for debris, look for new puddles or soil movement near the coping.
- Monthly during leaf season: Clear skimmer baskets and all visible drain grates. Rinse channel drains with a hose.
- Bi-annually (spring and before rainy season): Professionals recommend bi-annual checks to confirm deck slope, clear debris from all drains, and verify that downspouts discharge well away from the pool zone.
- Annually: Inspect French drain cleanouts for flow. Test sump pump operation by pouring water into the sump well and confirming the pump activates and discharges correctly.
Seasonal calendar:
- Spring: Check for frost heave or soil movement that shifted pavers over winter. Confirm all grates are seated and sealed. Test the sump pump before the wet season.
- Before heavy rain season: Extend or redirect any downspouts that terminate near the pool. Clear all channel drains and confirm slope with a level. Trim back plantings that overhang drain grates.
- After major storms: Inspect for new cracks in coping, soil erosion at the pool edge, or debris washed into the pool from the yard.
Small investments that prevent big repairs:
- Leaf guards on gutters reduce the debris load reaching downspouts and drains
- Downspout extensions ($15–$30 each) are among the cheapest drainage fixes available
- A secondary collection line at the low point of the deck catches what the primary drain misses
- Keeping pool maintenance products on hand for skimmer and grate cleaning makes the monthly habit easier to stick to
Pro Tip: Document your bi-annual inspections with photos. If you ever need to file an insurance claim for drainage-related damage, a dated photo record showing the condition of your deck, drains, and downspouts before the damage event is one of the strongest pieces of evidence you can provide.
What we see in the field: patterns that predict bigger problems
After hundreds of pool projects across the Greater Phoenix area, certain failure patterns show up repeatedly. The most common scenario: a homeowner notices puddles near the coping after monsoon rains, assumes it’s just heavy rainfall, and waits. By the time they call, the channel drain is fully blocked with caliche and compacted debris, the deck has settled toward the pool along one edge, and the soil beneath two or three pavers has washed out entirely. The fix at that point involves trenching a perimeter French drain, re-leveling the affected deck section, and installing a proper channel drain with a cleanout. Had the grates been cleared and the slope checked annually, the job would have been a $200 service call.
Inspection behaviors that predict long-term problems:
- Coping that has separated more than 1/4 inch from the shell in multiple locations
- More than two or three pavers that sound hollow when tapped (indicating voids beneath)
- A sump pump that activates more than once per storm cycle (suggesting groundwater is consistently high)
- Deck sections that have settled toward the pool rather than away from it across more than a third of the perimeter
- Downspouts that terminate within 4 feet of the pool coping with no underground extension
When more than 30% of deck slabs have shifted, targeted spot repairs rarely hold. The ground conditions that caused the first settlement will cause the next one. A full deck replacement with proper subsurface drainage integrated from the start is the more reliable path.
The most consistent finding across our projects: homeowners who schedule a documented inspection before and after monsoon season almost never face emergency structural repairs. The inspection itself costs little. What it catches early costs far less than what it prevents.
A professional pool service visit should include a check of grate flow, deck pitch, and sump operation — not just water chemistry. If your current service provider isn’t covering those items, ask them to or find one who does.
Safety, insurance, and permit considerations
Electrical and structural safety
Water and pool electrical equipment are a dangerous combination. Before inspecting any flooded area near the equipment pad, shut off the main breaker to the pool system. Never assume a GFCI outlet eliminates all risk when standing water is present. If the equipment pad has flooded and you’re not certain the electrical components are dry, call a licensed electrician before restoring power.
On the structural side, the most serious risk is draining an inground pool on a high-water-table lot without first relieving groundwater pressure. An empty concrete or fiberglass shell weighs far less than the water it normally holds, and hydrostatic pressure from saturated soil can push the shell upward out of the ground within hours of draining. Always consult a pool professional before draining more than a foot or two of water from an inground pool.
Insurance documentation
- Photograph the damage and the surrounding conditions (deck, drains, downspouts, soil) before any repair work begins.
- Keep records of all prior maintenance: service invoices, inspection reports, and photos showing the condition of drains and deck over time.
- Sudden, accidental damage (a pipe bursting from a one-time event) is more likely to be covered than gradual damage from deferred maintenance. Insurers frequently deny claims where the evidence suggests the problem developed over months or years without corrective action.
- Contact your homeowner’s insurance carrier before beginning major repairs to understand what documentation they require for a claim.
Permits and stormwater approvals
Most simple drain cleaning and downspout re-routing doesn’t require a permit. However, connecting a new drain line to a municipal storm system, installing a dry well, or making significant changes to surface grading typically does. Requirements vary by municipality, so verify with your local building department before starting any work that ties into public infrastructure.
A note on discharge points: directing pool drainage or yard runoff onto a neighbor’s property or into an unapproved location can create liability and code violations. Water must be managed from the pool zone through to an appropriate discharge point — a municipal storm drain, an approved dry well, or a daylight outlet on your own property. When in doubt, get professional guidance before connecting to any public system.
Pro Tip: Before any contractor begins work that involves tying into a storm drain or installing a dry well, ask them to pull the required permit. A contractor who resists pulling permits on work that requires them is a red flag — unpermitted drainage work can create problems when you sell the property.
Key Takeaways
Pool drainage problems are almost always multi-source, and the most expensive damage comes from ignoring early warning signs rather than from the initial cause itself.
| Point | Details |
|---|---|
| Most failures are multi-source | Grading, clogged drains, and groundwater pressure usually combine; fixing only one often leaves the problem unresolved. |
| Deck slope is the baseline check | A deck graded at less than 1/8–1/4 inch per foot away from the pool is the most common root cause of chronic surface drainage issues. |
| Bucket test first | A pool dropping more than the bucket after 48 hours signals a leak, not evaporation — run this test before calling anyone. |
| 30% slab threshold matters | When more than 30% of deck slabs have shifted, targeted repairs are typically ineffective and full replacement is more reliable long-term. |
| Wefixuglypools for Greater Phoenix | For drainage assessment, French drain installation, deck replacement, sump installs, and plumbing repair, Wefixuglypools serves homeowners across the Greater Phoenix area with a decade of hands-on experience. |
What the field actually teaches you about drainage
Most articles on pool drainage problems treat each cause as a separate, isolated issue. That framing is misleading. In practice, the pools that develop serious structural damage almost always have two or three contributing factors working together over several seasons. The grading was slightly off from the start, a downspout was never extended, and the channel drain grate got blocked and stayed blocked. None of those problems alone would have caused major damage. Together, they saturated the soil beneath the deck, undermined the coping, and created the conditions for hydrostatic pressure to do real structural harm.
The practical implication is that fixing one thing and calling it done is often the wrong call. A thorough drainage assessment looks at the whole system: surface slope, subsurface conditions, discharge points, and equipment function. That’s the standard we hold ourselves to at Wefixuglypools, and it’s the standard any homeowner should expect from a contractor they hire.
If you’re seeing early warning signs, the neglected pool repair guide is a useful next step for understanding which issues to prioritize and which ones can wait.
Wefixuglypools can assess and fix your drainage issues
Persistent puddles, a settling deck, or a liner that won’t sit flat are problems that get more expensive the longer they wait. Wefixuglypools brings a decade of hands-on experience to drainage assessments, French drain and sump installations, deck leveling and replacement, plumbing repair, and full pool remodeling across the Greater Phoenix area.
Our team handles the full scope: we assess your drainage system, identify every contributing factor, and give you a clear repair plan with honest cost estimates before any work begins. We’re licensed and insured, and we’ve completed hundreds of pool transformations in Phoenix and surrounding communities. Whether you need a targeted drainage fix or a complete pool remodeling and restoration that integrates proper drainage from the ground up, we’re ready to help.
To get started, visit our pool repair services page or call us directly. Have photos of the problem area and a rough timeline of when symptoms started — that information helps us give you an accurate preliminary estimate before we even set foot on your property.
Useful sources and further reading
The following sources informed this guide and offer additional technical detail for homeowners who want to go deeper on specific topics.
| Source | What It Covers |
|---|---|
| Inground Pool Drainage — Sunset Pools & Spas | French drains, deck pitch standards, sump well design, and hydrostatic pressure management for inground pools |
| Pool Landscaping Drainage Problems — Mini Bucket Test | Runoff patterns, downspout placement mistakes, and landscape-integrated drainage planning |
| Pool Deck Drainage Problems — Cornerstone Pool & Remodel | Deck slope standards, slab settlement thresholds, and repair vs. replacement decision criteria |
| Poolside Drainage Assessment — Poolie | Inspection cadence recommendations and how to assess your drainage system’s performance |
| Pool Drain Repair — Pool Spare Repairs | Step-by-step main drain cover reseating technique with curing times |
| How to Clear a Clogged Pool Line — Petersen Products | Homeowner-safe drain flushing method using a drain flusher tool |
| Why Does My Pool Keep Draining — The Pool and Lawn | Causes of pool water loss including plumbing leaks, pump malfunctions, and evaporation vs. leak differentiation |
This guide is general information for educational purposes. For permit-specific requirements, structural repairs, or electrical work, consult your local building department and a licensed pool or plumbing contractor in your area.