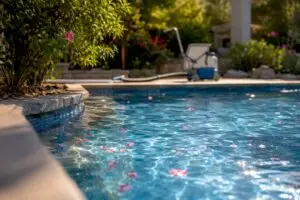
Pool aesthetic restoration is defined as the comprehensive renewal of a pool’s major visual and functional components while keeping its original footprint and shape intact. This process covers interior resurfacing, tile and coping repair, and equipment upgrades. It differs from renovation, which changes the pool’s structure or adds new features. For homeowners and property managers in the Greater Phoenix area, understanding pool aesthetic restoration explained means knowing exactly what work is involved, what materials hold up best, and how to protect both your investment and your swimmers. This guide covers all of it.
What are the main components of pool aesthetic restoration?
Pool aesthetic restoration is the process of renewing a pool’s surfaces and systems without altering its layout. The industry also calls this process pool refinishing or pool resurfacing, depending on the scope. Both terms describe the same core goal: restoring what exists rather than rebuilding from scratch.
The three main components are interior resurfacing, tile and coping repair, and equipment upgrades. Each one addresses a different layer of the pool’s condition. Together, they return the pool to full safety and visual appeal.
Interior resurfacing replaces the pool’s finished surface, which is the layer swimmers actually touch. Common finish materials include white plaster, quartz aggregate, and pebble finishes. Quartz and pebble options last longer than standard plaster and resist staining better. The choice depends on your budget, your pool’s use, and the look you want.
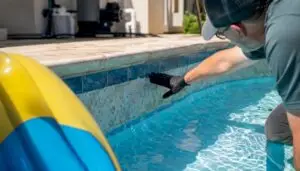
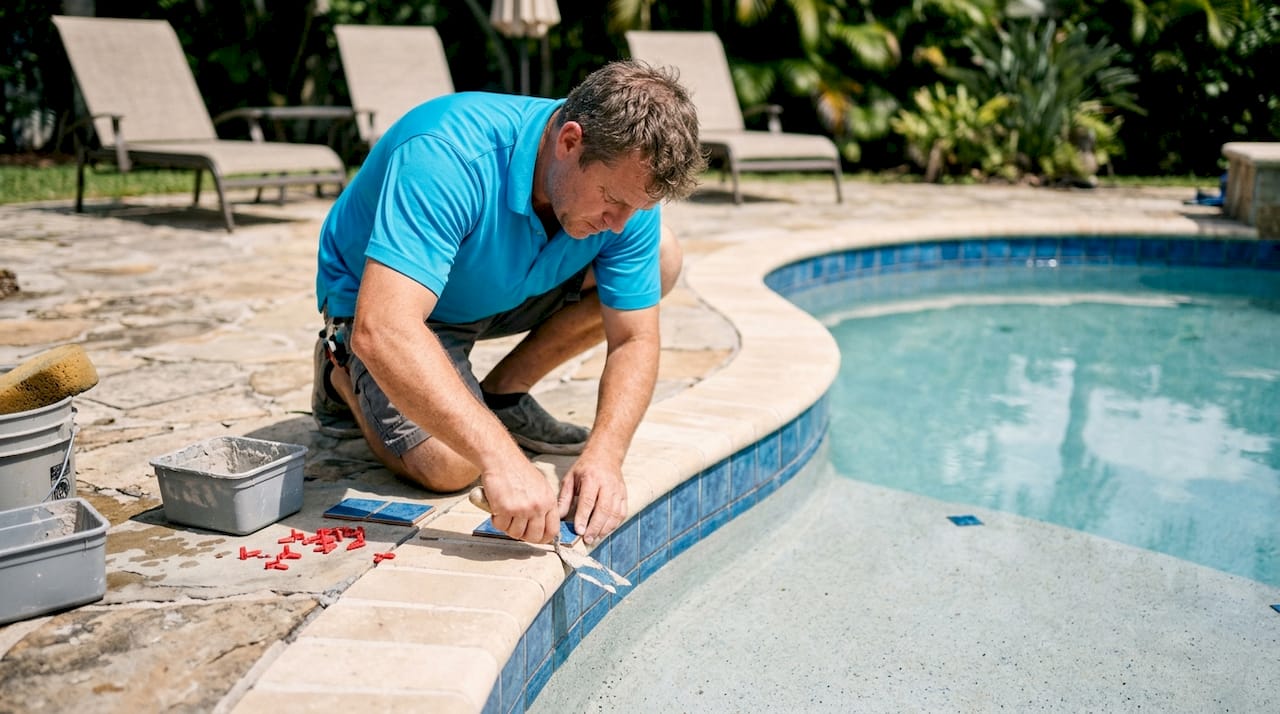
Tile and coping repair focuses on the waterline tile band and the coping stones that cap the pool’s edge. The waterline tile is the most chemically active zone in any pool. Replacing it during restoration is best practice because new plaster finishes up to the coping line, making later tile changes difficult without causing damage.
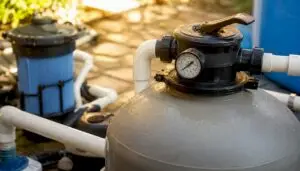
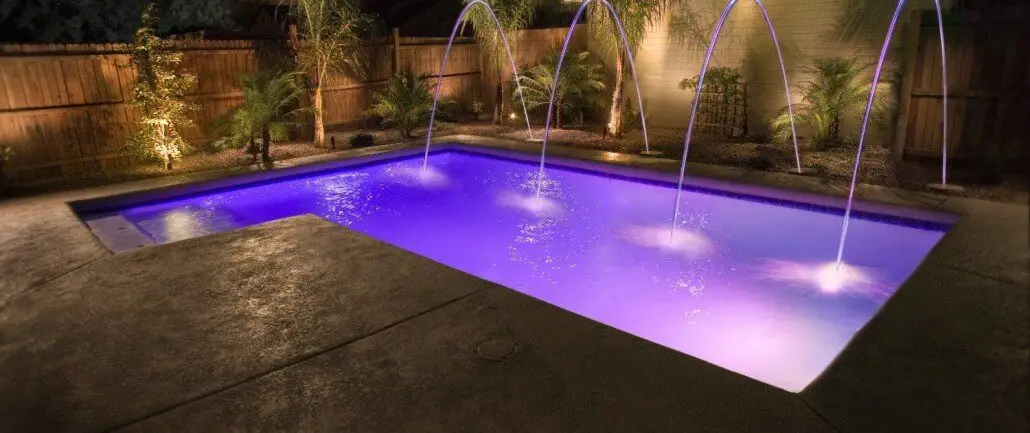
Equipment upgrades round out the project. Replacing aging pumps, filters, and lighting during restoration improves energy efficiency and complements the visual refresh. Upgrading to LED lighting enhances both function and nighttime aesthetics at the same time.
Here is a quick comparison to clarify the scope of each approach:
| Approach | Scope | Structural changes? | Typical goal |
|---|---|---|---|
| Resurfacing | Interior finish only | No | Renew surface material |
| Restoration | Surface, tile, coping, equipment | No | Full visual and functional renewal |
| Renovation | Any of the above plus layout changes | Yes | Redesign or expand the pool |
Pro Tip: If your tile is more than 10 years old, replace it during restoration even if it looks acceptable. The cost to redo it later, after new plaster is in place, is significantly higher.
How does pool aesthetic restoration improve safety and functionality?
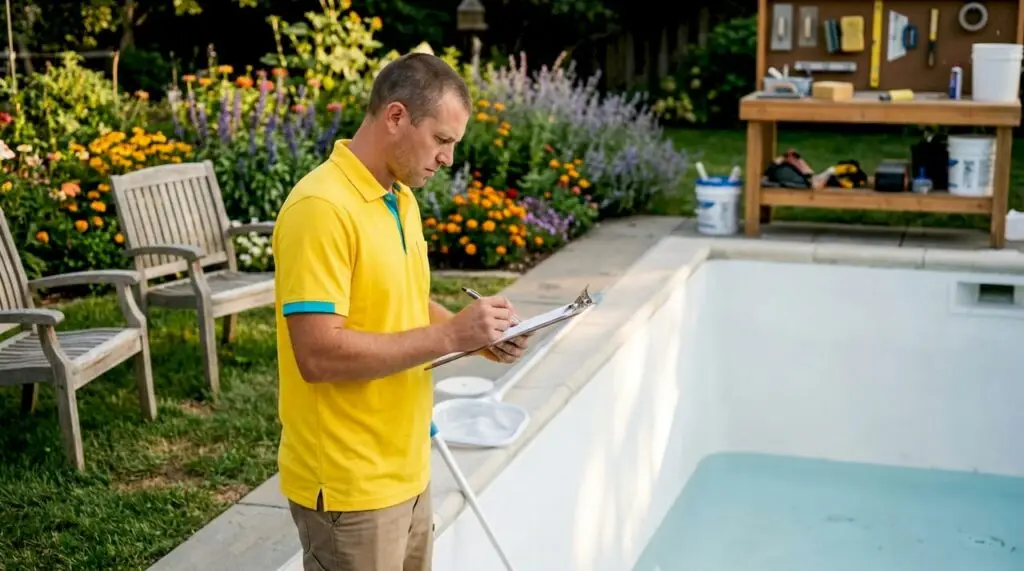
Aging pool surfaces create real safety hazards. Cracked plaster cuts feet. Rough, deteriorated surfaces scrape skin. Delaminating material creates sharp edges that pose serious injury risks, especially for children. Restoration addresses all of these hazards directly.
“Pool restoration is as much about safety as appearance. Surfaces degrade over time, creating hazards that must be addressed before they cause injury. The dual goals of safety and aesthetics are inseparable in any quality restoration project.”
Pool refinishing restores both comfort and safety by smoothing rough surfaces and repairing cracks, improving the swimming experience without full reconstruction. That means your pool becomes safer and more enjoyable without the cost or disruption of a complete rebuild.
The functional benefits extend beyond the surface. Restored pools hold water chemistry more consistently because smooth, intact surfaces do not harbor algae or bacteria the way cracked plaster does. Water clarity improves noticeably after resurfacing. Equipment upgrades during the same project reduce energy costs and extend the life of your filtration system.
Key safety and functional benefits of restoration include:
- Elimination of cracked, rough, or sharp surfaces that injure swimmers
- Improved slip resistance with modern finish materials
- Better water chemistry stability due to a sealed, smooth surface
- Reduced energy consumption from updated pumps and filtration
- Enhanced visibility and safety with LED lighting upgrades
- Longer equipment lifespan when pumps and filters are replaced proactively
What design considerations matter during aesthetic pool renovation?
Design choices made during restoration last 10–15 years. Getting them right the first time saves money and avoids regret. The most important principle is to match your pool’s style with your home’s architecture and existing landscaping rather than chasing trends.
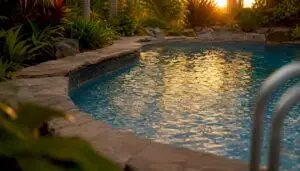
A pool that fits its surroundings feels intentional. A pool that follows a trend from a magazine often looks out of place within a few years. Transitional design principles, which blend classic structure with updated finishes, tend to age well and coordinate pool aesthetics with the broader home environment more reliably than purely contemporary choices.
Functional needs should drive your design decisions as much as visual preferences. Choosing features based on how you actually use the pool leads to better long-term satisfaction. A family with young children benefits from a shallow entry zone and smooth, light-colored plaster that makes the pool floor visible. Homeowners who swim laps need adequate length and a finish that minimizes glare. Designing for function first, then aesthetics, avoids costly redesigns later.
When selecting finishes and colors, keep these points in mind:
- Light plaster colors make pools appear larger and improve visibility of the pool floor
- Dark finishes create a dramatic look but absorb more heat and can make debris harder to spot
- Tile color should complement both the coping material and the home’s exterior palette
- Coping material, whether travertine, concrete, or brick, sets the tone for the entire pool surround
- Quartz and pebble finishes offer more color variety than standard plaster and hold their color longer
Pro Tip: Before committing to a finish color, ask your contractor for a physical sample and place it next to your home’s exterior wall in direct sunlight. Pool finish colors look very different in outdoor light than they do in a showroom or on a screen.
What is the typical process and timeline for pool restoration?
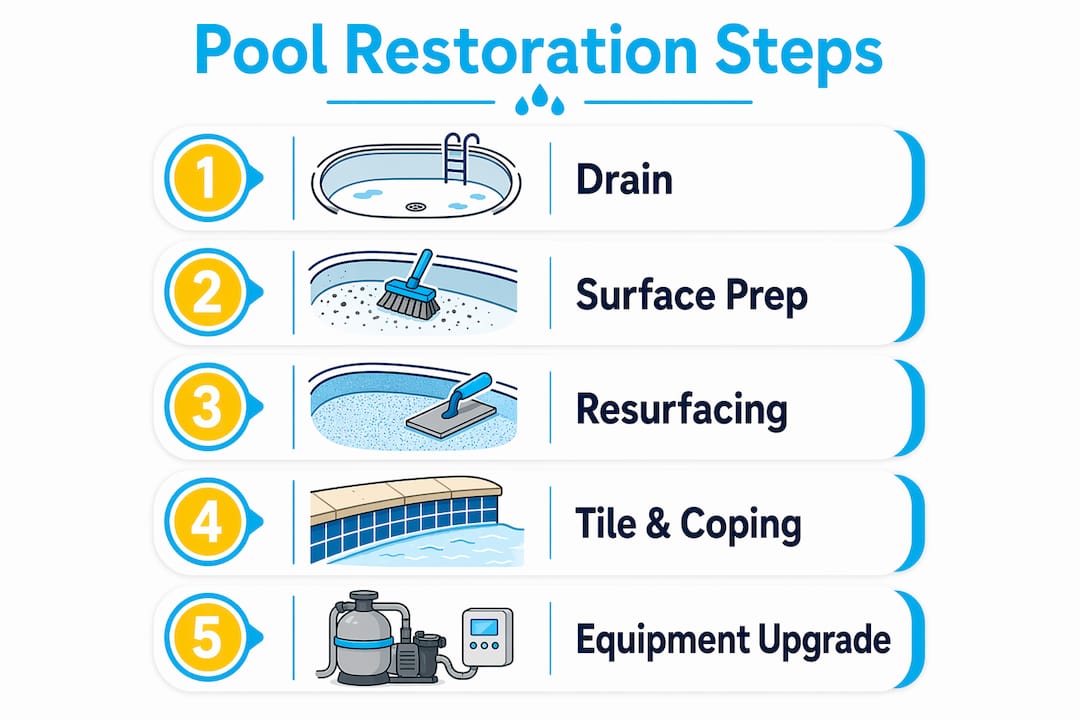
A complete pool restoration follows a clear sequence of steps. Skipping or shortcutting any stage compromises the final result. The process typically takes 1–2 weeks from start to finish, depending on pool size and the scope of work.
- Drain the pool completely and allow surfaces to dry before any work begins.
- Remove the old surface down to the bare shell using sandblasting or hydro-blasting. This step is non-negotiable.
- Inspect the shell for structural cracks, delamination, or plumbing issues and repair them before applying any new material.
- Replace tile and coping at this stage, while the pool is empty and the surface is bare.
- Apply the new finish in layers according to the material manufacturer’s specifications.
- Cure the finish by filling the pool slowly and balancing water chemistry carefully over the first two weeks.
Surface preparation is the most critical part of restoration and directly determines how long the new finish lasts. Applying new plaster over old plaster without full removal causes rapid delamination. The new finish simply does not bond properly to the old surface. Full removal to the bare shell via sandblasting or hydro-blasting is the only method that creates the mechanical adhesion needed for a durable result.
Surface prep requires 3–5 days of labor-intensive work before any new material goes on. That timeline surprises many homeowners who expect a faster turnaround. The time is well spent. Rushing prep is the single most common reason pool finishes fail prematurely.
| Process stage | Estimated time |
|---|---|
| Draining and drying | 1–2 days |
| Surface removal and prep | 3–5 days |
| Structural repairs | 1–2 days |
| Tile and coping installation | 1–3 days |
| Finish application | 1–2 days |
| Fill and cure | 7–14 days |
Pro Tip: Schedule your restoration in spring or early fall in Arizona. Extreme summer heat accelerates plaster curing unevenly, which can cause surface cracking. Cooler temperatures give the finish time to cure at a controlled rate.
How to select materials and a contractor for your restoration project
Material selection determines how long your restoration lasts and how much maintenance it requires. Standard white plaster is the most affordable option but typically needs refinishing every 7–10 years. Quartz aggregate finishes last 12–15 years and resist staining better. Pebble finishes offer the longest lifespan, often 15–20 years, and provide a natural, textured appearance. The right choice depends on your budget, your pool’s use intensity, and the look you want to maintain.
Durability and maintenance requirements should weigh as heavily as upfront cost. A pebble finish costs more initially but may be cheaper over a 20-year period than replastering with standard plaster twice. Review the pool resurfacing process in detail before meeting with contractors so you can ask informed questions.
When evaluating contractors, look for these qualities:
- Verifiable experience with full surface removal, not just overlay work
- Clear written warranty covering both materials and labor
- References from completed projects you can actually inspect
- Transparent process for structural inspection before applying new finish
- Willingness to explain every step and answer questions without pressure
Red flags include contractors who propose applying new plaster over the existing surface, offer unusually fast timelines, or cannot provide references. Shortcuts on surface prep are the leading cause of early finish failure. A reputable contractor welcomes your questions about their prep process. If they deflect or minimize the importance of full removal, walk away.
Pro Tip: Ask to see a project the contractor completed 3–5 years ago, not just recent work. A finish that still looks good after several Arizona summers tells you far more than a freshly completed job.
Key Takeaways
Pool aesthetic restoration succeeds when surface preparation, material selection, and design choices all align with the pool’s function and the home’s existing style.
| Point | Details |
|---|---|
| Full surface removal is non-negotiable | Applying new plaster over old causes delamination; always require complete removal to bare shell. |
| Replace tile during restoration | Waterline tile is chemically active; replacing it now avoids costly repairs after new plaster is in place. |
| Design for function first | Choose finishes and features based on how you use the pool, not trends, for long-term satisfaction. |
| Budget for prep time | Surface preparation takes 3–5 days and directly determines how long the new finish lasts. |
| Vet contractors on prep practices | A contractor who skips or shortens surface removal will deliver a finish that fails early. |
What I’ve learned after watching hundreds of pool restorations
The homeowners who get the best results share one habit: they ask hard questions before signing anything. They want to know exactly how the old surface will be removed, what the warranty covers, and whether the contractor has done work they can inspect in person. That habit separates a 15-year finish from one that starts peeling in three years.
The biggest mistake I see is treating restoration as a cosmetic project. Homeowners focus on tile color and finish texture while glossing over the prep work. The prep is where the project succeeds or fails. A beautiful pebble finish applied over inadequate surface removal will look great for 18 months and then start delaminating. The visual result is only as good as what is underneath it.
Piecemeal fixes also cost more in the long run. Replacing tile one year, replastering two years later, and upgrading equipment the year after that means paying for three mobilizations, three sets of draining and refilling costs, and three rounds of water chemistry rebalancing. A single comprehensive restoration done right costs less over a decade than three separate partial fixes.
The other thing I tell every homeowner: do not wait until the pool is visibly failing. Peeling pool finish and visible cracks mean the surface has already been compromised for some time. Restoring a pool at the first signs of wear, before structural damage sets in, keeps the project within the scope of restoration rather than pushing it into full renovation territory. That distinction matters significantly for your budget.
— Brian
Wefixuglypools: pool restoration and remodeling services
Wefixuglypools has spent a decade transforming unappealing and unsafe pools across the Greater Phoenix area. The team specializes in full aesthetic pool renovation, covering resurfacing, tile and coping repair, equipment upgrades, and custom pool features that complement your home’s style.
Every project starts with a thorough inspection and an honest conversation about what your pool needs. Whether you are managing a residential property or refreshing your own backyard, Wefixuglypools delivers quality results backed by real experience. Explore the full range of pool remodeling and restoration services and schedule your consultation today. Hundreds of Phoenix-area homeowners have already made the call. Yours is next.
FAQ
What is pool aesthetic restoration?
Pool aesthetic restoration is the comprehensive renewal of a pool’s interior surface, tile, coping, and equipment while keeping the original structure and footprint unchanged. It differs from renovation, which involves structural changes or additions.
How long does pool aesthetic restoration take?
A complete restoration typically takes 1–2 weeks from draining to refilling, with surface preparation alone requiring 3–5 days of labor-intensive work.
What materials are used in pool resurfacing?
The most common options are standard white plaster, quartz aggregate, and pebble finishes. Quartz and pebble finishes last longer and require less maintenance than standard plaster.
Why is surface preparation so critical?
Applying new plaster over old plaster without full removal causes rapid delamination. Complete removal to the bare shell via sandblasting or hydro-blasting is required for the new finish to bond properly and last.
When should I restore my pool instead of renovating it?
Restore your pool when the structure is sound but surfaces, tile, or equipment have deteriorated. Renovation is the right choice when you want to change the pool’s shape, size, or layout.