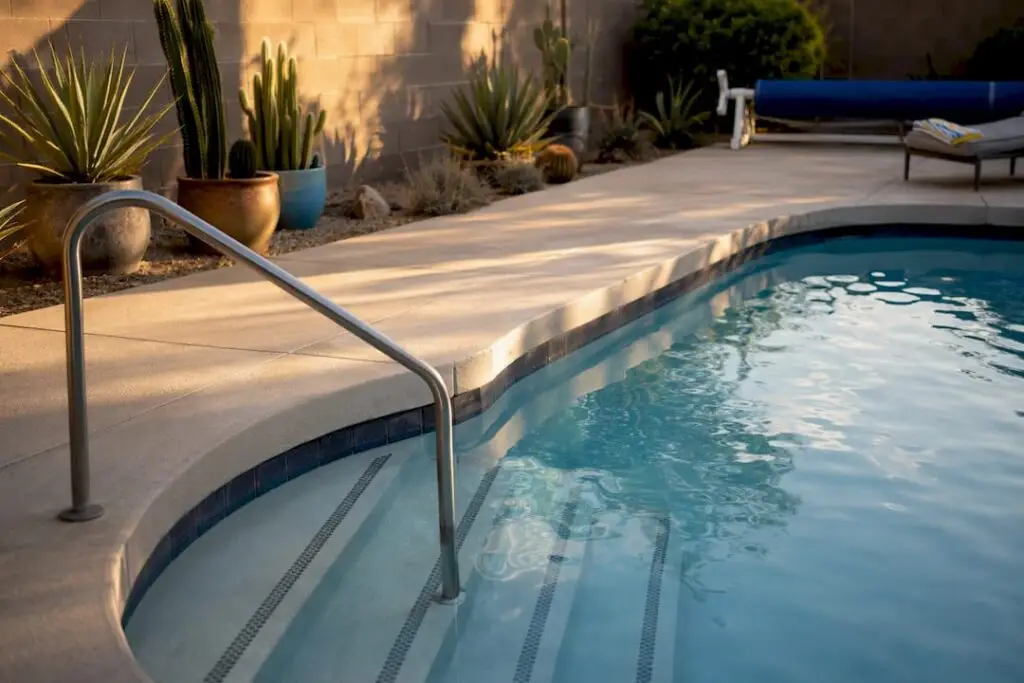
Design safe pool entry steps by prioritizing stair-style or tiered entries with slip-resistant treads, adequate handrails, and dimensions that meet ISPSC entry/exit requirements. Ladders alone don’t cut it for most residential pools anymore, and neither does a set of steps that “looks fine” but skips the numbers that keep swimmers upright.
Here’s what actually matters before you sketch a single line:
- The code baseline: the ISPSC requires a means of entry and exit once water exceeds 24 inches, plus a second exit point in any deep area over 5 feet
- Tread math: treads need at least 10 inches of unobstructed depth and 240 square inches of surface area per step
- Handrail spacing: where ladders or rails are used, clearances should fall between 17 and 24 inches
Get those three specs wrong and everything else, the finish, the lighting, the seating ledge, is decoration on a liability.
Key Takeaways
Safe pool entry steps require code-compliant tread depth, correctly spaced handrails, and slip-resistant materials working together, not any single feature alone.
| Point | Details |
|---|---|
| Meet the 10 inch tread rule | Every tread needs at least 10 inches of unobstructed depth and 240 square inches of surface area. |
| Match entry type to use | Choose tiered steps for social pools, corner entries to save swim space, and beach entries for accessibility. |
| Space handrails correctly | Keep handrail and ladder clearances between 17 and 24 inches for a secure grip. |
| Grade for drainage | Slope the deck around steps to a perimeter drain to prevent standing water and algae buildup. |
| Bring in a specialist for structural work | We Fix Ugly Pools® handles shell modifications, waterproofing, and finish work that DIY retrofits often get wrong. |
Table of Contents
- Which Types of Pool Entry Steps Work Best?
- What Are the Code Requirements for Pool Step Dimensions?
- Which Materials and Finishes Keep Pool Steps Slip-Resistant?
- Where Should Pool Steps Be Placed for Safety and Flow?
- How Do You Design Pool Steps for Accessibility and Aging in Place?
- How Do You Make Safe Steps Look Intentional, Not Utilitarian?
- What Are the Most Common Mistakes in Pool Step Design?
- When Should You Hire a Pool Remodeler Instead of DIY?
- How Do You Prevent Water Pooling Around Pool Steps?
- What Ergonomic Principles Make Pool Steps More Comfortable?
- Should You Add Signage or Visual Cues Near Pool Steps?
- What Homeowners Get Wrong About Step Priorities
- How We Fix Ugly Pools® Builds Safer, Better-Looking Step Designs
- Frequently Asked Questions
- Sources
Which Types of Pool Entry Steps Work Best?
The right entry type depends on who’s using the pool and how much deck space you’re willing to trade for it. Full-width tiered steps span the entire shallow end and work well for families and social swimmers, but they reduce usable swim length by several feet, which matters if lap swimming is a priority.
Corner and angled entries solve that problem by tucking the steps into one corner instead of the full width. You lose some of the lounging space a tiered design offers, but you keep more open water. They’re a common retrofit choice when a homeowner wants safer entry without rebuilding the whole shallow end.
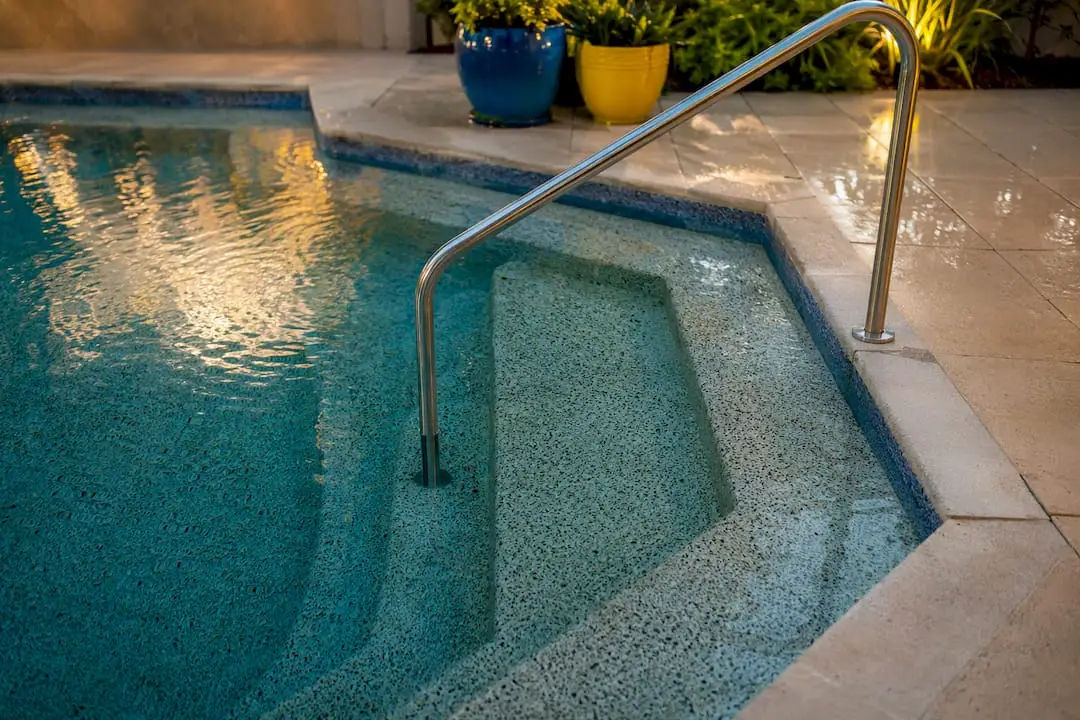
Beach and zero entries slope gradually into the water rather than stepping down, often in the 15 to 25 centimeter depth range noted in pool design references. They’re the most accessible option for toddlers, older adults, and anyone using a wheelchair or walker to get near the water, and they double as a play shelf when done well.
Other options worth knowing:
- Recessed treads: built into the pool wall, saving deck space but requiring precise depth and width to stay code-compliant
- Swimouts: a submerged platform near steps that gives swimmers a resting point before exiting
- Drop-in or fiberglass steps: common in shotcrete or gunite retrofits where matching the original shell isn’t practical
- Above-ground modular steps: systems like the Blue Wave Easy Pool Step Entry use a 10-inch rise and 11.5-inch tread, close to code minimums but worth checking against your specific pool
Ladders still have a place in small hobby pools or above-ground pools with tight deck space, but avoid them as the primary entry for any pool used by kids, older family members, or guests who aren’t confident swimmers.
What Are the Code Requirements for Pool Step Dimensions?
The ISPSC doesn’t leave tread depth or handrail placement to guesswork, and neither should your design drawings. Here’s the checklist that should show up on every permit set:
- Entry and exit means. Any shallow area deeper than 24 inches needs an entry/exit point. Depths beyond 5 feet in the deep end require a second, separate entry/exit.
- Wide pools need two exits. If the deep end spans more than 30 feet wide, code requires entry/exit access on both sides, not just one.
- Tread depth minimum. Every step needs at least 10 inches of unobstructed horizontal depth, per the CodeNotes summary of ISPSC entry/exit rules.
- Surface area minimum. Each tread needs 240 square inches of unobstructed surface, enough for a full adult foot placement with margin.
- Recessed tread specs. If treads are recessed into the wall rather than projecting into the pool, they need a minimum depth of 5 inches and a width of 12 inches.
- Handrail and ladder spacing. Where rails or ladder rungs are used, clearance should sit between 17 and 24 inches, wide enough for a hand grip, narrow enough to prevent a child slipping through.
- Slip-resisting surfaces. Code calls for slip-resistant materials on treads and landings, not just the surrounding deck.
That 10 inch by 240 square inch combination is the one most homeowners get wrong when they’re eyeballing a design instead of measuring it. A tread that’s technically “10 inches deep” but narrow enough to drop below 240 square inches of total surface still fails inspection.
Bring this checklist to your first design meeting. A pool permit design guide can walk you through how these numbers translate into actual permit drawings, but the seven items above are the ones an inspector will check first.
Which Materials and Finishes Keep Pool Steps Slip-Resistant?
Slip resistance isn’t one product, it’s a combination of texture, contrast, and hardware that all have to work together. Textured tile, pebble finishes, and aggregate surfaces outperform smooth plaster or glossy tile on wet feet, especially on the tread’s leading edge where most slips happen.
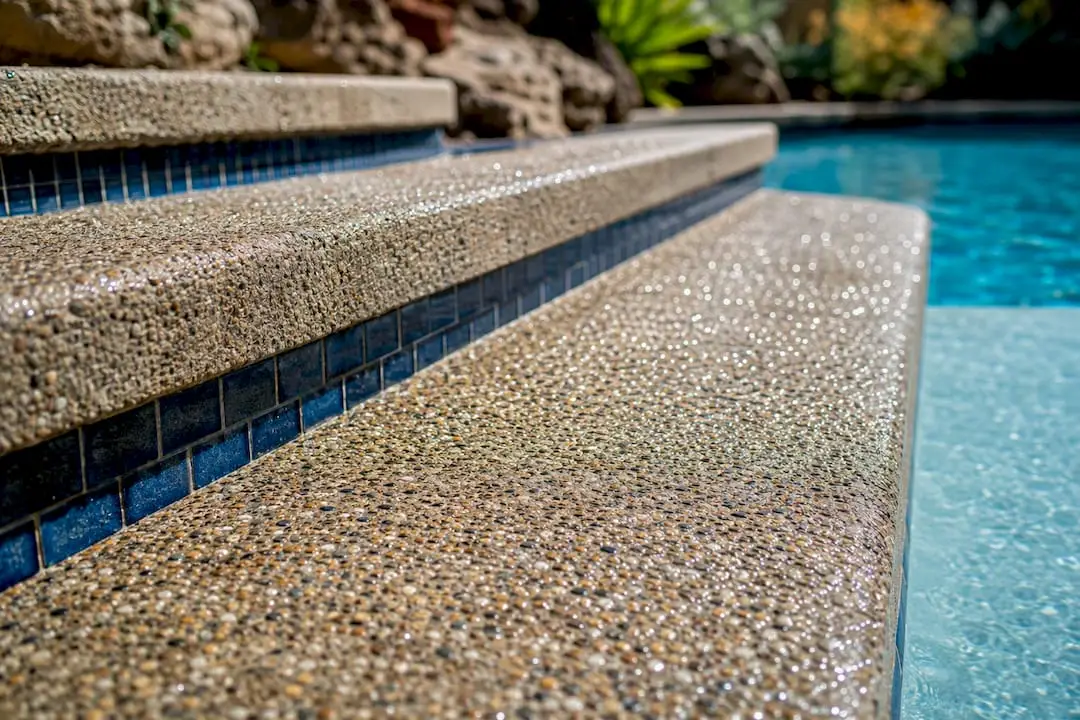
Contrast matters more than most homeowners expect. A step edge finished in a slightly different color or texture than the tread face gives swimmers a visual cue for where the step actually ends, which matters most at dusk or under pool lighting that can wash out subtle depth changes.
A few material and hardware notes worth building into your spec sheet:
- Choose anti-slip nosing on step edges, not just textured tread surfaces
- Specify corrosion-resistant handrail hardware (marine-grade stainless or coated aluminum), and confirm whether it’s deck-mounted or embedded into the shell
- Add low-voltage lighting near steps so the tread edge stays visible after dark
- Grade drainage away from the step zone to reduce standing water and the algae growth that comes with it
- Reseal grout lines and check for wear annually, since worn grout is often the first place slip resistance breaks down
Pro Tip: When adding tile or aggregate over existing steps, test a small tread sample for slip resistance after installation and build in extra nosing depth. A retrofit finish that eats into your original tread depth can quietly push you below the 10 inch minimum without anyone noticing until inspection day.
Where Should Pool Steps Be Placed for Safety and Flow?
Step placement affects more than looks. Put steps too close to a return jet or skimmer and you create a hazard where swimmers reach for a handrail while standing in moving water or near suction. Keep a clear buffer, generally a few feet, between step edges and any equipment fitting.
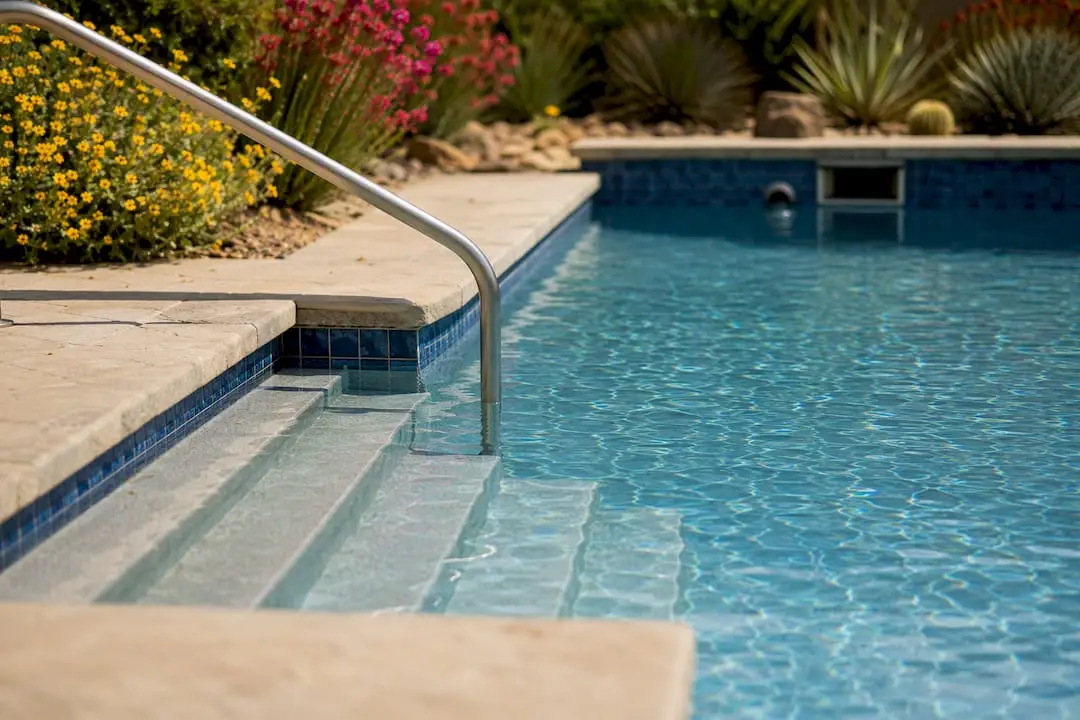
Full-width tiered steps are the biggest space trade-off in the whole design. If lap swimming or a defined deep end matters to your household, consider a corner entry instead, or narrow the tiered section to two-thirds of the pool width to reclaim swim distance without sacrificing the social benefit.
Layout choices that pay off in daily use:
- Keep steps away from the direct line between the deep end and any diving area
- Site tanning ledges and seating adjacent to, but not directly in, the main entry path to reduce cross-traffic
- If retrofitting, measure existing plumbing runs before relocating steps. Moving an entry zone can mean rerouting returns, which adds cost fast
- Leave at least one unobstructed handrail zone even when steps double as a seating area
A zero edge and beach entry design often solves the traffic problem entirely by spreading entry across a wide, shallow slope instead of concentrating everyone at one narrow step zone.
How Do You Design Pool Steps for Accessibility and Aging in Place?
Stair-style entries beat ladders for independence, plain and simple. A wide tread with a handrail on each side lets someone descend at their own pace with two points of contact, while a ladder demands grip strength and balance most people lose with age or after surgery. Occupational therapists and pool designers consistently recommend stair-style entries over vertical ladders for exactly this reason.
A few features make the difference between “accessible on paper” and “actually usable”:
- Dual handrails at a consistent grip height, not just one rail on one side
- Tread widths generous enough for a sideways shuffle step, not just a forward stride
- A transfer bench or wide landing partway down for anyone who needs to pause
- ADA-informed ramps or mechanical lifts where stairs alone won’t serve a wheelchair user, integrated so the ramp doesn’t block the main step path
Pro Tip: If you’re designing for a family member with limited mobility now, oversize the tread width even if a lift isn’t in the budget yet. Adding a lift later is far easier when the surrounding deck and step geometry were built to accommodate it.
How Do You Make Safe Steps Look Intentional, Not Utilitarian?
Safety and style aren’t in competition here, they’re the same design decision viewed from two angles. Matte and aggregate finishes give you the grip code requires while reading as a deliberate material choice rather than a slip patch bolted onto the design. Glossy tile might photograph well, but it’s rarely the right call underfoot.
Pair tiered steps with a sun ledge or bench seat and you get a feature that earns its square footage every day, not just on the days someone uses the entry. Size a tanning ledge at roughly 6 to 8 feet wide if you want two loungers to fit comfortably.
Design moves that keep steps both safe and elegant:
- Use a contrasting tile band on the leading edge of each tread instead of a jarring safety stripe
- Add recessed LED lighting along the step line rather than a single floodlight overhead
- Extend the custom pool feature palette, waterline tile, coping stone, plant beds, right up to the step zone so it reads as part of the pool, not an afterthought
What Are the Most Common Mistakes in Pool Step Design?
Most step failures trace back to one of a handful of repeat offenders. Watch for these on any bid or final walkthrough:
- Treads under 10 inches deep or below 240 square inches of surface area
- Handrails missing entirely, or spaced outside the 17 to 24 inch range
- Glossy or smooth finishes on tread surfaces
- Anchoring that relies on deck mount alone with no embed reinforcement in soft or expansive soil
- Steps crowded against a skimmer, return, or drain with no clearance
Bring a tape measure to any final walkthrough and check tread depth and handrail spacing yourself. If a contractor’s answer to a code question is vague or defensive, that’s usually a sign the design was never checked against ISPSC in the first place. Review our common pool renovation mistakes before signing off on any remodel scope.
When Should You Hire a Pool Remodeler Instead of DIY?
Structural changes to step geometry, waterproofing at the shell, and complex tile or aggregate work are not weekend projects. Once you’re cutting into gunite or shotcrete, rerouting plumbing, or matching a waterline tile pattern across a curved tread, licensing and experience start to matter more than enthusiasm.
We Fix Ugly Pools® has spent over a decade turning outdated or unsafe entries into code-compliant, better-looking ones across hundreds of Greater Phoenix remodels.
If your existing steps predate current handrail spacing or tread depth standards, retrofitting them properly almost always means addressing the shell structure underneath, not just resurfacing the top.
Signs you need a licensed remodeler rather than a DIY fix:
- Cracking or settling near the existing step structure
- A desire to relocate steps, which usually means moving plumbing
- Any structural tile or waterproofing repair below the waterline
How Do You Prevent Water Pooling Around Pool Steps?
Standing water around step treads is one of the most overlooked slip hazards in residential pool design, and it’s almost entirely preventable with the right deck grading. Water that sheets off a pool deck and collects at the base of the steps creates a slick film that’s often harder to see than a wet tread itself, since it blends into the surrounding concrete or pavers.
Grade the deck surrounding the entry zone with a slight slope, typically a quarter inch per foot, away from the step area toward a perimeter drain. Skip this at design stage and you’ll be chasing puddles for the life of the pool.
A few drainage details that prevent problems before they start:
- Install a linear or slot drain at the base of tiered steps where deck water naturally collects
- Avoid flat or reverse-graded sections immediately adjacent to the bottom tread
- Keep step surfaces clear of debris that can clog small gaps and trap water against the tread
- Check that pool coping around the entry sheds water outward, not back toward the steps
Standing water doesn’t just create slip risk. It also encourages algae growth on tread surfaces, which compounds the slip hazard over time and adds a maintenance headache that proper grading avoids entirely.
What Ergonomic Principles Make Pool Steps More Comfortable?
A step that meets every code minimum can still feel exhausting to use if the rise and tread geometry ignore basic body mechanics. Consistent rise height across every step in the run matters more than most homeowners realize. A single step with a rise that’s an inch taller or shorter than the rest is enough to trip someone who’s adjusted their gait to the pattern of the steps before it.
Aim for a rise between 7 and 8 inches per step, comfortable for most adults descending into water while wearing wet footwear or none at all. Pair that with a tread depth at or above the 10 inch code minimum, and you get a stride that feels natural rather than cramped.
A few ergonomic details worth building in:
- Keep every step in a run at the same rise height, no exceptions
- Angle tread surfaces with a slight forward pitch (roughly a quarter inch) so water drains rather than pools underfoot
- Size handrail grip diameter for an average adult hand, generally 1.25 to 1.5 inches, so grip fatigue doesn’t set in during a slow descent
- Consider a wider landing every third or fourth step on deep entries, giving swimmers a place to pause without blocking the path behind them
Fatigue on pool steps isn’t just about comfort. Someone who tires mid-descent is more likely to lose balance, which makes ergonomic tread geometry a safety feature as much as a comfort one.
Should You Add Signage or Visual Cues Near Pool Steps?
Visual cues do a lot of quiet work that most homeowners never think about until a guest missteps. A step zone that reads clearly, even to someone who has never used the pool before, prevents the kind of hesitation or misjudged stride that leads to slips.
Contrasting tile or paint on the edge of each tread is the single most effective cue, more useful in practice than a printed sign because it works in every lighting condition and doesn’t require anyone to stop and read anything. Depth markers near the entry zone, required in many commercial settings, are worth adding to residential pools too, especially where children or infrequent guests use the pool.
Effective signage and visual cue choices include:
- A contrasting nosing strip on every tread, not just the top or bottom step
- A small depth marker at the base of the entry, visible from the top of the steps
- Non-slip decals or a “watch your step” marker at the top of full-width tiered entries used by guests unfamiliar with the layout
- Lighting positioned to avoid glare on wet tile, since a poorly aimed fixture can wash out the very edge contrast you’re trying to create
None of this replaces proper tread geometry or handrail placement. It’s the layer that catches the moments code compliance alone can’t cover, distraction, low light, unfamiliar footing.
What Homeowners Get Wrong About Step Priorities
Most clients come to us wanting a step design that looks good in photos, and that instinct isn’t wrong. The mistake is treating safety specs as something to check off after the aesthetic is locked in, rather than the framework the aesthetic has to fit inside.
The pools that age well, and stay safe for a decade of family use, are the ones where tread depth, handrail spacing, and slip resistance got decided before anyone picked a tile color. Beauty and code compliance aren’t competing goals. They’re sequential ones.
If you’re weighing a remodel and want a second opinion on whether your current steps meet today’s standards, a site visit tells you more in twenty minutes than any spec sheet can.
How We Fix Ugly Pools® Builds Safer, Better-Looking Step Designs
Getting tread depth, handrail spacing, and slip resistance right on paper is one thing. Getting a contractor to execute all three correctly on a curved shell, in gunite, with tile that still looks intentional, is where most DIY plans fall apart.
We Fix Ugly Pools® handles the full scope: structural step modifications, custom beach and zero entries, resurfacing with slip-rated finishes, and handrail installation that meets current spacing standards. Our pool remodeling and restoration service covers exactly the structural and waterproofing work that trips up DIY step retrofits, and if you’re picturing a wider entry zone or an added tanning ledge, our custom pool features team builds those alongside the step work instead of treating them as separate projects. Homeowners in the Greater Phoenix area can also see how we’ve applied these standards on pool remodeling projects in Scottsdale.
If your current steps predate modern handrail and tread standards, or you’re planning a remodel that includes a new entry zone, request a design consultation and we’ll walk your existing pool against these code benchmarks in person.
Frequently Asked Questions
What is the minimum tread depth for pool steps?
Code requires at least 10 inches of unobstructed horizontal tread depth, with a minimum of 240 square inches of surface area per step, according to ICC CodeNotes.
How far apart should pool handrails be spaced?
Handrail and ladder clearances should fall between 17 and 24 inches, wide enough for a secure hand grip but narrow enough to prevent small children from slipping through.
Are ladders acceptable as the only pool entry?
Ladders can work for small hobby or above-ground pools, but stair-style entries are safer and more accessible for families, older adults, or anyone without strong upper-body grip strength.
When does a pool need a second entry or exit point?
Once the deep end exceeds 5 feet, ISPSC requires a secondary entry/exit, and pools wider than 30 feet at the deep end need access points on both sides.
Do pool steps need slip-resistant surfaces by code?
Yes. Slip-resisting materials are required on treads and landings, not just the surrounding deck, which rules out smooth, high-gloss tile on tread surfaces.
Sources
- ISPSC 2021 — Chapter 8: Permanent inground residential swimming pools — entry/exit requirements
- CodeNotes: Permanent inground residential swimming pool entry/exit requirements — ICC
- Rehabmart — How to choose pool steps and ladders for safety, accessibility, and comfort