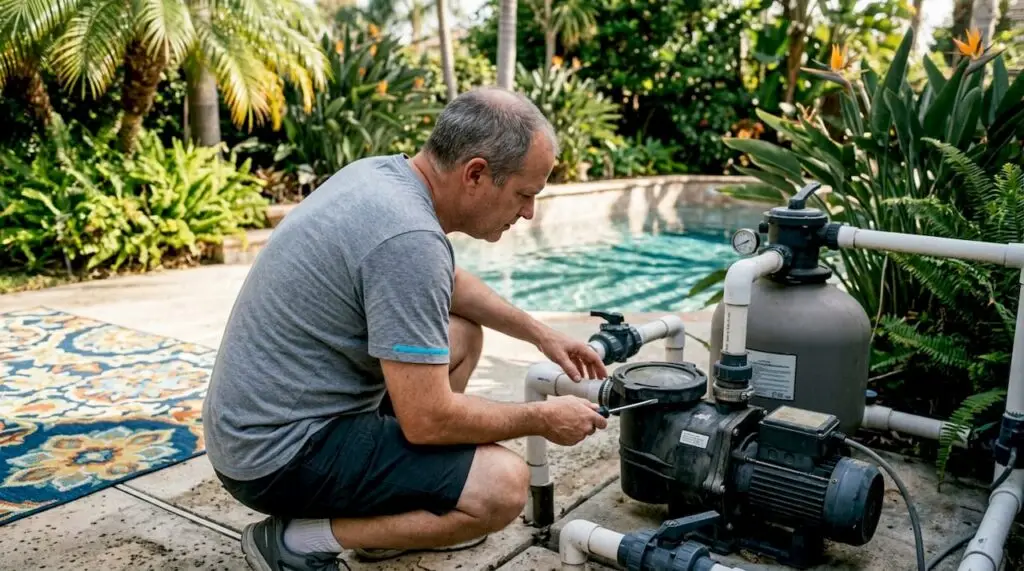
Pool equipment troubleshooting is defined as the systematic process of identifying symptoms, isolating causes, and applying targeted fixes to restore normal pool operation. When you troubleshoot pool equipment problems fast, you cut downtime, protect your investment, and avoid service calls that can run $150–$500 for standard pump repairs alone. The good news: about 80% of pump and filter problems are solvable with DIY methods in under 30 minutes. Knowing where to look first is the skill that separates a $10 O-ring fix from a $2,500 pump replacement.
What tools and safety steps do you need before troubleshooting pool equipment?
Fast pool troubleshooting starts before you touch a single fitting. Having the right tools on hand cuts diagnostic time in half and keeps you safe.
Essential tools to keep poolside:
- Pressure gauge (to read filter and pump performance)
- Flathead and Phillips screwdrivers
- Multimeter (for electrical checks on motors and capacitors)
- Silicone lubricant (for O-rings and lid gaskets)
- Replacement O-rings and basket lid gaskets
- Shaving cream (for suction leak detection)
- Zip ties and Teflon tape
Safety is not optional when working near pool equipment. Always shut off power at the breaker before opening any motor housing or junction box. Never work on electrical components with wet hands or while standing in water. Pool pump motors run on 115V or 230V circuits. Either voltage can cause serious injury.
Pro Tip: Label your breaker panel clearly so you can cut power to the pump, heater, and lights independently. This saves time and prevents accidental energizing during repairs.
How to quickly diagnose the most common pool pump problems
The pump is the heart of your pool system. When it fails, everything downstream suffers. Use this structured approach to identify pool problems quickly and apply the right fix.
Start with a 60-second baseline check
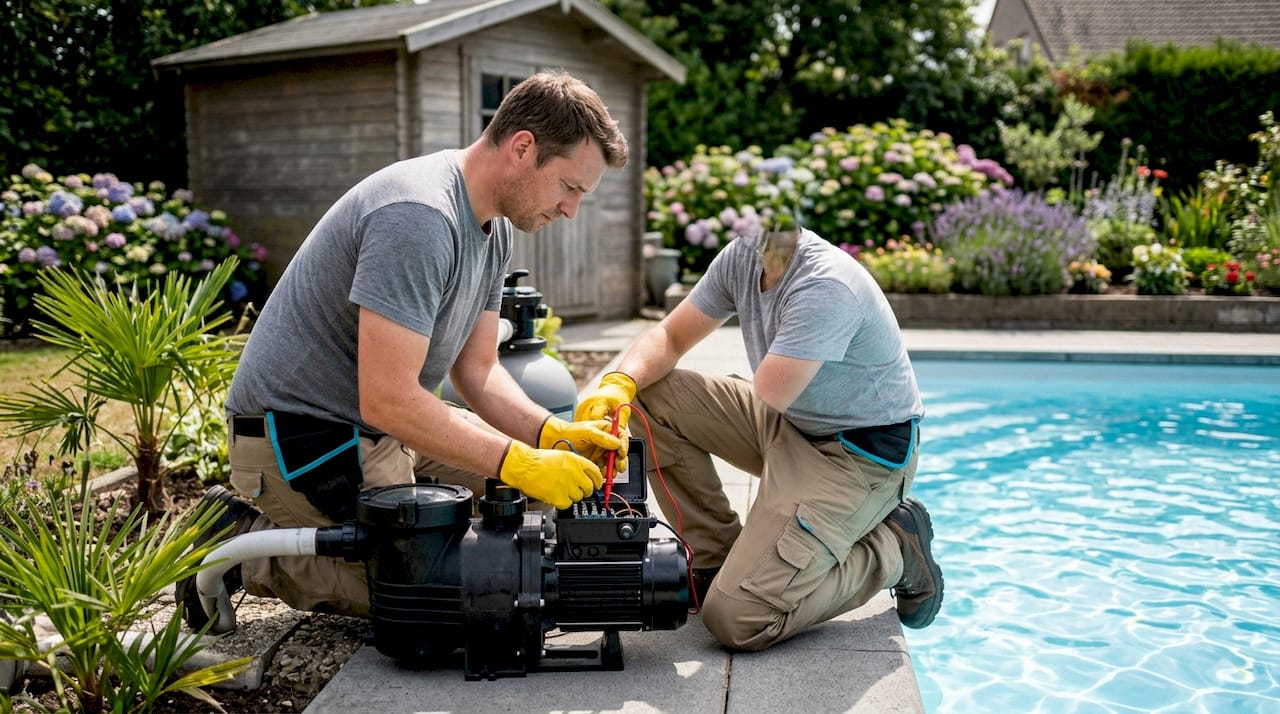
Over 50% of pump service calls are resolved by a simple baseline inspection. That means half of all emergency calls are unnecessary. Run through this checklist first:
- Check the circuit breaker. Reset it if tripped.
- Verify the timer is set correctly and the pump cycle is active.
- Confirm the water level is at mid-skimmer height. Low water causes air ingestion and loss of prime.
- Clean the skimmer basket and pump strainer basket. Debris here is the single most common cause of flow restriction.
- Check that all valves are open and in the correct position.
This five-step check takes under a minute and eliminates the most common causes before you dig deeper.
Pump hums but won’t spin
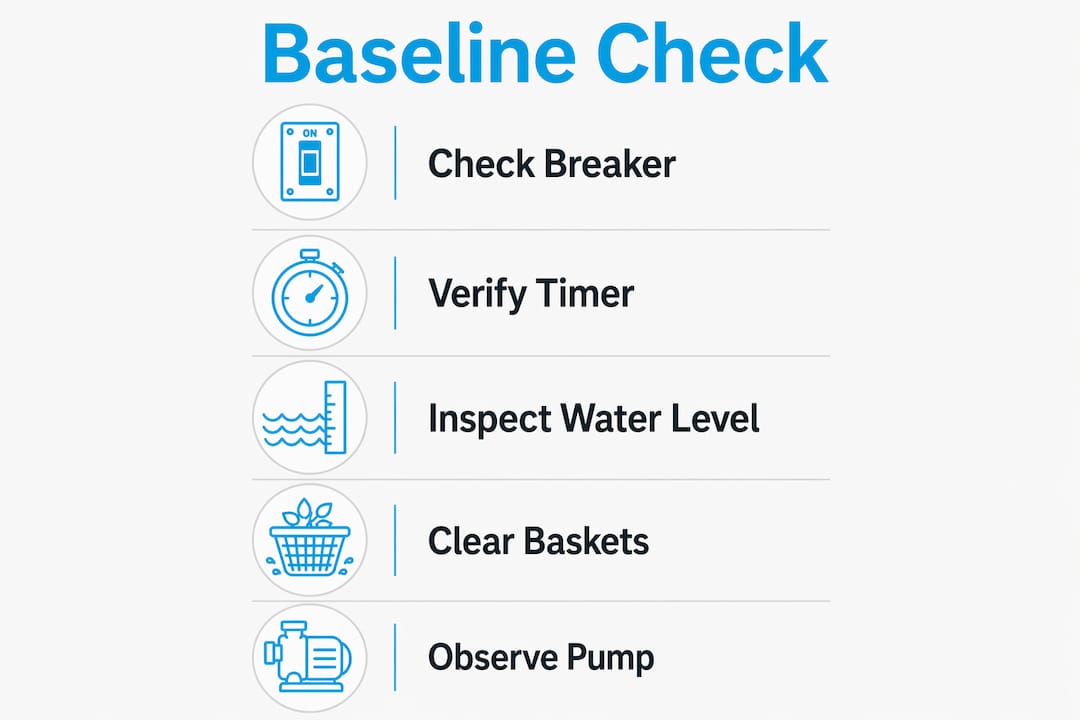
A humming motor that won’t turn is a specific failure pattern. Failed start capacitors cause over 80% of these cases. The capacitor is a small cylindrical component mounted on the motor housing. Replacing it costs $15–$40 as a DIY repair. Discharge the capacitor before touching it by shorting its terminals with an insulated screwdriver. Swap it with a matching microfarad rating and the motor will typically spin up immediately.
Pump loses prime or runs dry
Loss of prime means air is entering the suction side. The most common entry points are the pump lid O-ring, union fittings, and the shaft seal. The shaving cream test, recognized by the California Pool Association for field diagnostics, locates leaks fast. Apply shaving cream around fittings while the pump runs. Foam that gets sucked inward marks the leak point. This method beats manual inspection every time.
Pump leaks water
Water leaking from the front of the pump housing points to a failed shaft seal. Replacing a shaft seal costs $15–$30 and resolves the leak before moisture reaches the motor windings. Shaft seals typically last 3–5 years. Catching this early prevents motor corrosion that turns a $25 fix into a $700 motor replacement.
Noisy pump: grinding or screeching
Grinding or screeching sounds indicate bearing failure. Ignoring these sounds accelerates bearing wear, and bearing replacement costs $65–$300. Left unaddressed, bearing failure destroys the motor, pushing replacement costs to $350–$700. Motor bearings typically last 5–8 years. Act on noise immediately.
Pro Tip: When reassembling pump components, tighten bolts in a star pattern to seat the housing evenly. Uneven torque causes stress cracks that create new leaks.
Reading your pressure gauge
Filter pressure gauge readings tell you exactly what the system is doing. A reading 8–10 PSI above your baseline means the filter is dirty and needs backwashing or cleaning. A reading below baseline signals a suction obstruction or flow restriction upstream of the pump. Know your baseline by recording the gauge reading immediately after a fresh filter cleaning.
| Pressure Reading | Likely Cause | Action |
|---|---|---|
| 8–10 PSI above baseline | Dirty filter media | Backwash or clean filter |
| Below baseline | Suction blockage or air leak | Check baskets, inspect fittings |
| Normal range, pump noisy | Bearing or cavitation issue | Inspect bearings, check water level |
| Spiking erratically | Partial blockage or valve issue | Check all valves and skimmer |
Fast fixes for pool equipment problems beyond the pump
Pool equipment systems are interconnected. A clogged filter strains the pump, and a struggling pump starves the heater. Fixing one component in isolation misses the bigger picture. Address the full system when diagnosing issues.
Filter problems and quick remedies
A dirty filter is the most overlooked cause of poor pool performance. Backwash a sand or DE filter when pressure reads 8–10 PSI above baseline. For cartridge filters, remove and rinse the element with a garden hose. Replace cartridge elements when rinsing no longer restores normal pressure, typically every 1–3 years depending on bather load.
Signs your filter needs attention:
- Cloudy water despite balanced chemistry
- Reduced return jet flow
- Pressure gauge reading consistently high
- Pump cycling on and off (short cycling)
For more on common pool repair priorities, a systematic approach to filter and pump maintenance prevents most emergency calls before they happen.
Heater troubleshooting basics
Pool heater failures usually trace back to three causes: power supply issues, thermostat faults, or restricted airflow. Check the breaker and confirm the thermostat is set above current water temperature. Gas heaters need clear airflow around the unit. Blocked vents cause the unit to shut down on thermal protection. Clean debris from around the heater cabinet and check that the bypass valve is set correctly to allow adequate flow through the heat exchanger.
Pro Tip: If your heater fires but shuts off within minutes, the flow switch is likely the culprit. This $20–$40 part senses water movement and cuts the heater if flow drops too low. Replace it before assuming the heat exchanger is damaged.
Air bubbles at return jets
Bubbles returning through the jets signal air entering the suction side. The most common causes are a low water level, a cracked pump lid, a worn lid O-ring, or loose union fittings. Apply silicone lubricant to the lid O-ring and hand-tighten the lid firmly. Basket lid O-rings cost $3–$8 and are the first part to replace when bubbles appear. For persistent air ingestion, use the shaving cream method described in the pump section to locate the exact entry point.
For a broader look at pool maintenance routines that prevent these issues from developing, consistent weekly checks catch air leaks and flow problems before they become costly repairs.
When should you call a professional for pool equipment repair?
Some repairs fall outside safe DIY territory. Knowing the boundary protects both your equipment and your safety. Electrical issues including moisture, wiring corrosion, and bad capacitors cause motor overheating and breaker trips. A thermal overload switch protects the motor and resets when it cools. If your pump trips the breaker repeatedly after resetting, stop and call a licensed electrician.
Call a professional when you see:
- Repeated breaker trips after reset
- Visible wiring damage, burn marks, or corrosion at the motor
- Active water leaks near electrical conduit
- Cracked pump housing or plumbing fittings
- Heater error codes that persist after basic resets
- Any repair requiring cutting into pool plumbing
When you do call a pro, document the problem thoroughly. Take photos of the equipment, note the pressure gauge reading, and write down the exact symptoms including when they started. This cuts diagnostic time and reduces your labor bill. Knowing your pool repair cost benchmarks before the technician arrives helps you evaluate quotes confidently.
Full pump replacement runs $900–$2,500 depending on pump size and labor. Standard repairs fall in the $150–$500 range. Understanding these numbers helps you decide whether a repair or replacement makes more financial sense, especially on older equipment.
Key Takeaways
Systematic diagnosis resolves the majority of pool equipment failures fast, and most fixes cost under $40 when caught early.
| Point | Details |
|---|---|
| Start with the baseline check | Verifying breaker, timer, water level, and baskets resolves over 50% of pump calls. |
| Read your pressure gauge | A reading 8–10 PSI above baseline means a dirty filter; below baseline signals a suction blockage. |
| Replace small parts early | Shaft seals ($15–$30) and O-rings ($3–$8) prevent motor damage costing hundreds more. |
| Use the shaving cream test | Apply foam to fittings while the pump runs to locate suction air leaks in seconds. |
| Know when to stop DIY | Repeated breaker trips, burn marks, or active leaks near wiring require a licensed professional. |
What I’ve learned from years of watching homeowners troubleshoot pools
Most homeowners I talk to make the same mistake: they replace the most expensive part first. A pump stops working, and the immediate instinct is to order a new motor. Nine times out of ten, the real culprit is a $20 capacitor, a clogged basket, or a tripped breaker. The fix takes five minutes. The wrong part order takes a week and costs $300.
The second mistake is treating pool equipment as isolated units. Throwing chemicals at a pool problem without diagnosing the root cause is the most expensive homeowner habit I see. A cloudy pool is not always a chemistry problem. Often it is a filter running at reduced capacity because the pump is starved for flow. Fix the equipment first, then retest the water.
My strongest recommendation is to keep a simple troubleshooting log near your equipment pad. Write down your baseline pressure reading after every filter clean. Note any unusual sounds or behaviors with the date. When something goes wrong, that log tells you exactly how long the problem has been developing and what changed. It also gives a technician real data to work from, which cuts their diagnostic time and your bill.
Variable speed pumps are worth mentioning here. They lack the start capacitors that cause most single-speed motor failures. If you are on your second or third capacitor replacement, the upgrade pays for itself in reduced breakdowns and lower energy costs. It is one of the few equipment changes that genuinely reduces how often you need to troubleshoot anything at all.
— Brian
When pool equipment problems go beyond a quick fix
Sometimes a pool needs more than a new O-ring or a capacitor swap. If your equipment is aging, your plumbing shows repeated leak points, or your pool surface has deteriorated alongside the mechanical issues, a professional evaluation makes sense.
Wefixuglypools has spent over a decade diagnosing and repairing pools across the Greater Phoenix area. Our team handles everything from pool equipment repair to full pool remodeling when the scope goes beyond what a weekend fix can address. We respond fast, assess honestly, and give you a clear picture of what your pool actually needs. If your equipment issues keep coming back or your pool is overdue for a real upgrade, reach out to Wefixuglypools for an evaluation. We will tell you exactly what is worth repairing and what is worth replacing.
FAQ
What is the first step to troubleshoot pool equipment problems fast?
Start with a 60-second baseline inspection: check the breaker, confirm the timer setting, verify the water level is at mid-skimmer height, and clean both the skimmer and pump baskets. This single step resolves over 50% of pump service calls.
Why does my pool pump hum but not start?
A failed start capacitor is the cause in over 80% of humming, non-spinning motor cases. Replacing the capacitor is a DIY repair that costs $15–$40 and typically restores full operation immediately.
How do I find a suction air leak on my pool pump?
Apply shaving cream around pump fittings and union connections while the pump runs. Foam that gets pulled inward marks the exact leak point. This method is faster and more accurate than visual inspection alone.
When should pool pump bearings be replaced?
Replace bearings when you hear grinding or screeching sounds from the motor. Motor bearings typically last 5–8 years. Delaying replacement risks motor failure, which costs $350–$700 compared to $65–$300 for a bearing swap.
How do I know if my pool filter needs cleaning or replacement?
A pressure gauge reading 8–10 PSI above your baseline signals a dirty filter that needs backwashing or rinsing. If cleaning no longer restores normal pressure, the filter media or cartridge element needs replacement.