Pool winterization is the climate-driven process of preparing your pool, plumbing, and equipment for freezing weather to prevent physical damage and minimize spring reopening work. It goes beyond skimming leaves and tossing on a cover. Done right, winterization protects your plumbing lines, your equipment pad, and your pool’s interior finish from months of freeze-thaw cycles. Skip it or rush it, and you’re looking at cracked pipes, a stained shell, or a green swamp waiting for you in April.
Key Takeaways
Correct winterization sequencing, chemistry balance before closing and careful equipment drain and blowout order, is what actually prevents freeze damage and stains.
| Point | Details |
|---|---|
| Balance chemistry early | Adjust pH, alkalinity, and calcium hardness 3 to 7 days before closing, not the day of. |
| Time it by temperature | Winterize once daytime highs consistently sit below 60 to 65°F, not by a fixed date. |
| Follow the shock-to-algaecide order | Shock the night before, let chlorine drop, then add non-copper algaecide to avoid wasted treatment. |
| Blow out lines correctly | Work from the equipment pad outward and cap returns the moment bubbles stop. |
| Call a pro for equipment work | Wefixuglypools handles blowouts, heater drains, and inspections that catch damage before spring. |
Where to Verify Chemistry and Manufacturer Guidance
- APSP/PHTA winterizing fact sheet for chemistry targets and severe-climate procedures
- Pentair’s winterizing guide for air pillow and cover guidance
- Your pump, filter, and heater manuals for brand-specific drain sequences
Table of Contents
- What Pool Winterization Actually Means (And How It Differs From Closing)
- When Should You Winterize Your Pool?
- Supplies and Pre-Close Checklist
- The Step-by-Step Winterization Process for Inground Pools
- Above-Ground vs. Inground Pools: What Changes
- Common Winterization Mistakes That Cost Homeowners Money
- Professional Field Tips: What to DIY and What to Hire Out
- Sources
What Pool Winterization Actually Means (And How It Differs From Closing)
“Closing” and “winterizing” get used interchangeably, but they’re not the same job. Closing a pool is the light version: covering it, maybe adjusting chemicals, and calling it done for the season. Winterizing is the full protective process, and it’s climate-dependent by nature.
The PHTA guidance on severe-climate winterizing draws a clear line here: winterization includes protecting plumbing and equipment against freezing, which closing alone doesn’t address. If you live somewhere winters stay mild, a simple closing might suffice. If your water pipes see hard freezes, winterization is what keeps ice from splitting your plumbing lines wide open.
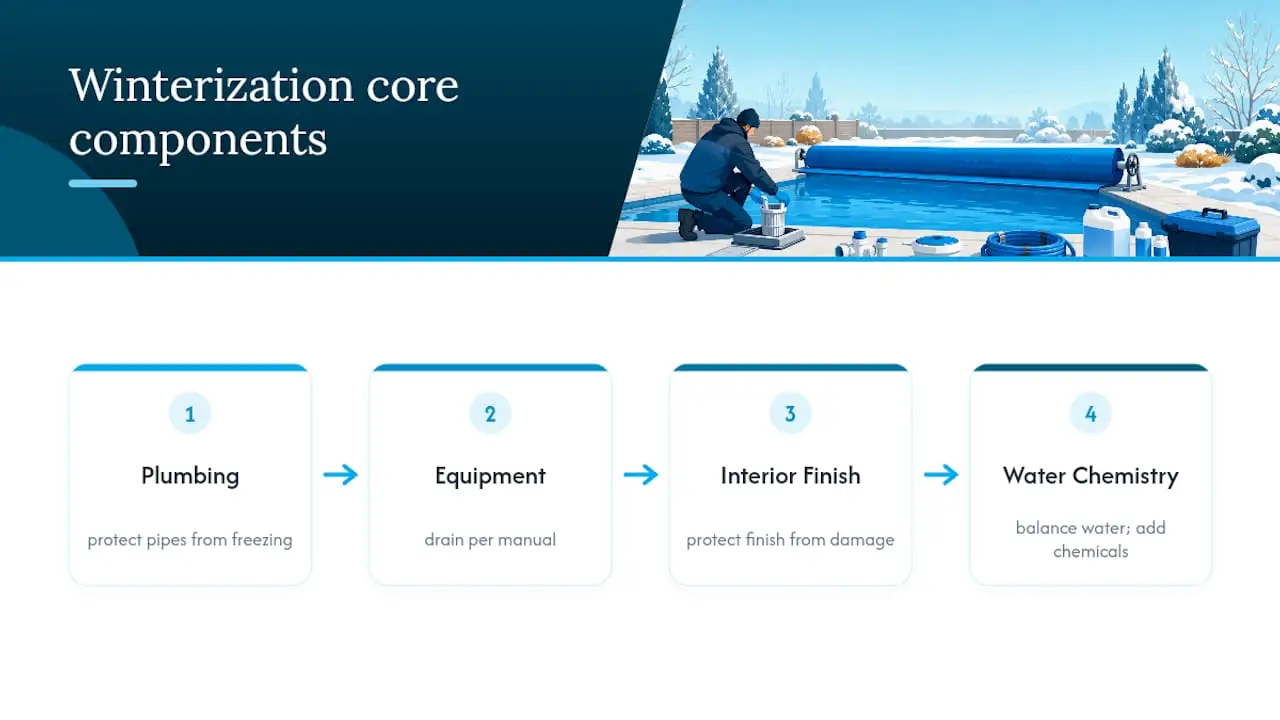
Four systems need attention: plumbing (the pipes running to and from your equipment), the equipment itself (pump, filter, heater), your pool’s interior finish (plaster, vinyl, or fiberglass), and your water chemistry. Manufacturer instructions vary by equipment brand and pool type, so the sequence you follow should match what your specific pump, filter, and heater manuals recommend, not just a generic checklist.
When Should You Winterize Your Pool?
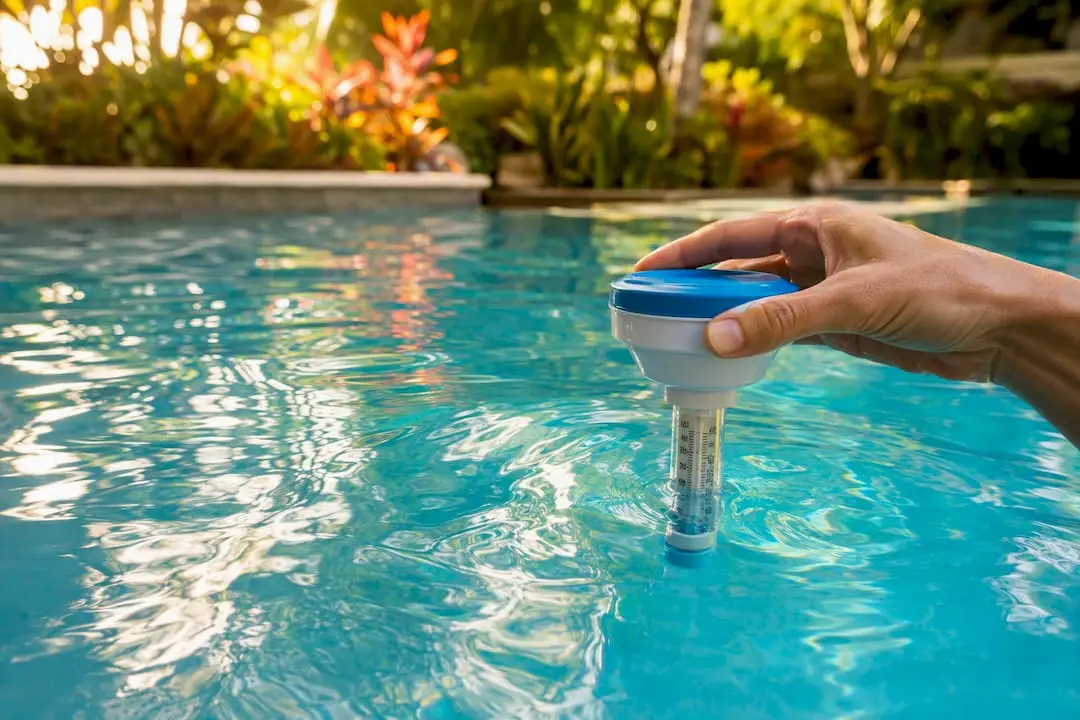
Base winterizing timing on consistent drops in daytime highs to temperatures that reduce algae growth, rather than a fixed date, and ensure your water temperature is trending down with them, not just dipping for a day or two.
Close too early, while water is still warm, and you’re inviting an algae bloom under that cover before winter even arrives. Close too late, after a hard freeze has already hit your plumbing, and you risk cracked pipes and a burst filter housing. Timing windows vary a lot by region. Homeowners in mild climates might winterize in December, freeze-prone regions typically aim for October or early November, and snowbelt areas often start as soon as school lets out in September. Your local frost date is a better guide than any generic date on a calendar.
Supplies and Pre-Close Checklist
Before you touch a single valve, get your gear together. Half of the frustration homeowners run into during winterization comes from realizing halfway through that they’re missing a plug or a gallon of algaecide.
Tools and hardware:
- Shop vac or small air compressor for blowing out lines
- Rubber winterizing plugs (check they’re not dry-rotted from last year)
- Skimmer plate or Gizzmo (a threaded freeze-protection device for skimmers)
- Telescoping pole, brush, and vacuum for a final clean
- Winter safety cover or solid cover with water tubes or anchors, plus air pillows if needed
Chemicals:
- Shock treatment
- Non-copper algaecide (polyquat-based, not copper-based, which can leave permanent staining under a cover)
- Metal sequestrant
- pH increaser/decreaser and alkalinity adjuster
Budget your time and money realistically. Most DIY winterizations run 2 to 4 hours, with recurring chemical costs generally range from modest to moderate amounts if you already own your cover and blowout equipment.
The Step-by-Step Winterization Process for Inground Pools
Sequence matters here more than almost any other part of pool care. Do these steps out of order and you risk cloudy water, stains, or equipment damage that shows up months later.
-
Balance your water chemistry 3 to 7 days before closing. Target pH between 7.2 and 7.6, total alkalinity between 80 and 120 ppm, and calcium hardness between 200 and 400 ppm, per APSP/PHTA fact sheet guidance. As water cools, the Langelier Saturation Index shifts, which affects how likely your water is to scale or corrode surfaces over winter. Getting chemistry right ahead of time gives adjustments time to stabilize.
-
Deep clean and vacuum. Brush walls and floor, vacuum debris, and backwash or clean your filter thoroughly. A clean start prevents organic material from feeding algae under the cover.
-
Shock the pool the night before closing. Let free chlorine levels drop before you add algaecide. Adding algaecide while chlorine is still elevated can neutralize the treatment before it does any good, per the step-by-step sequence PoolCareHelp outlines.
-
Add a non-copper winter algaecide and metal sequestrant. If you’re using a slow-release floater, place it now. This is your main defense against a swampy spring opening.
-
Lower the water level according to your cover type. Mesh safety covers typically need water dropped below the skimmer; solid covers with water tubes may need less adjustment. Vinyl liner pools need extra caution: draining more than roughly 4 to 6 inches below the skimmer risks hydrostatic pressure problems and liner damage. Never guess here, check your liner manufacturer’s limit.
-
Drain the pump, filter, and heater following manufacturer instructions. Each brand has its own drain plug locations and sequence, and skipping the manual is how homeowners crack a housing they didn’t know still held water.
-
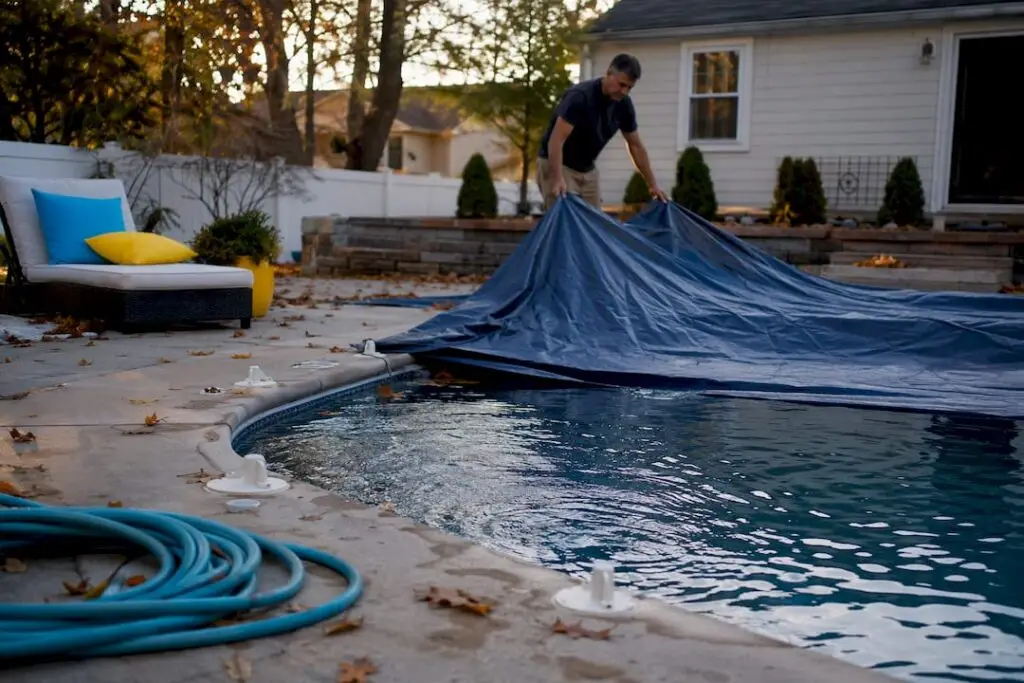
Blow out the plumbing lines, starting at the equipment pad and working outward. Cap each return immediately once you see air bubbles stop, which signals the line is clear. Waiting too long between clearing a line and capping it lets water seep back in overnight.
-
Plug the skimmer and returns with rubber winterizing plugs or a Gizzmo-style skimmer plate.
-
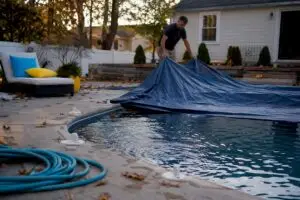
Install your cover, securing water tubes or anchors, and add air pillows if your setup calls for them. Air pillows relieve ice pressure that would otherwise stress your cover and pool walls as ice expands.
-
Do a final walk-through. Label valve positions and plug locations now, while you remember where everything is. You’ll thank yourself in the spring.
Pro Tip: Take photos of your equipment pad and valve setup before you drain anything. When spring opening rolls around, those photos save you from guessing which valve controls what.
Even after closing, don’t treat your pool as a sealed box until April. If it’s accessible, a monthly glance at chlorine levels helps catch drift before it turns into a algae problem under the cover.
Above-Ground vs. Inground Pools: What Changes
Above-ground pools skip most of the plumbing complexity. You’ll rarely need a full blowout, but you almost always need air pillows to manage ice expansion against the pool wall, and water-level guidance tends to be simpler since there’s no skimmer plumbing running through the ground.
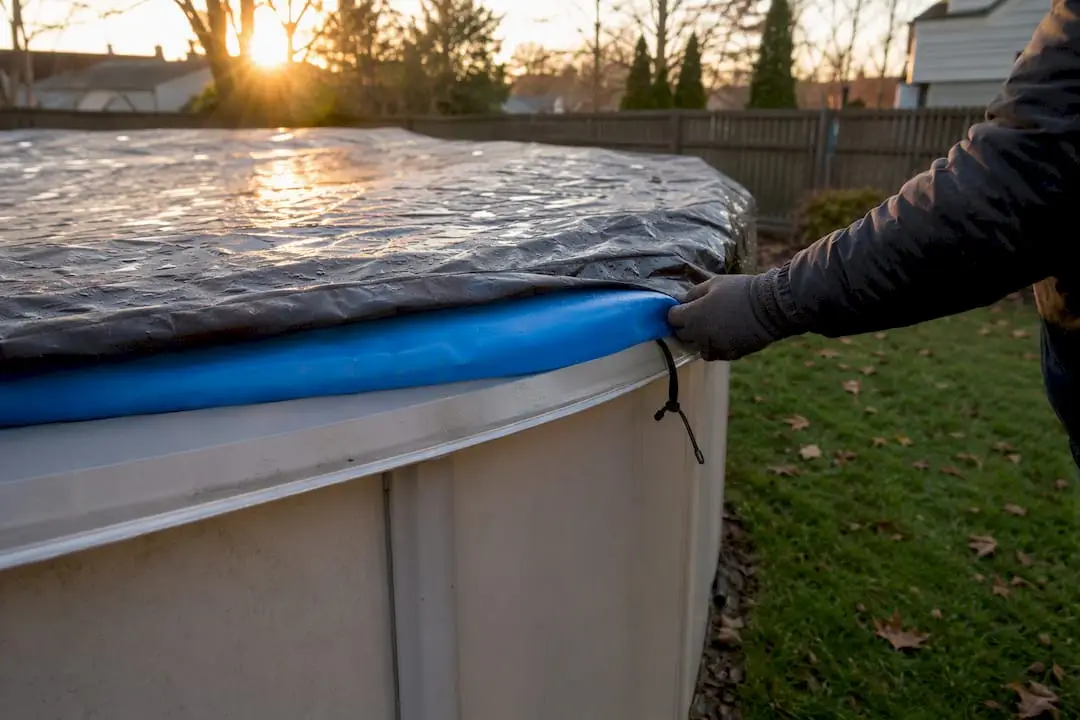
Inground pools carry the heavier lift: plumbing blowouts, skimmer plugs, and full equipment drains are non-negotiable in freeze-prone areas. Even above-ground owners should call in a pro when their setup includes an integrated heater or more complex plumbing than the standard hose-and-filter arrangement, since those systems hold water in places that aren’t obvious until they crack.
Common Winterization Mistakes That Cost Homeowners Money
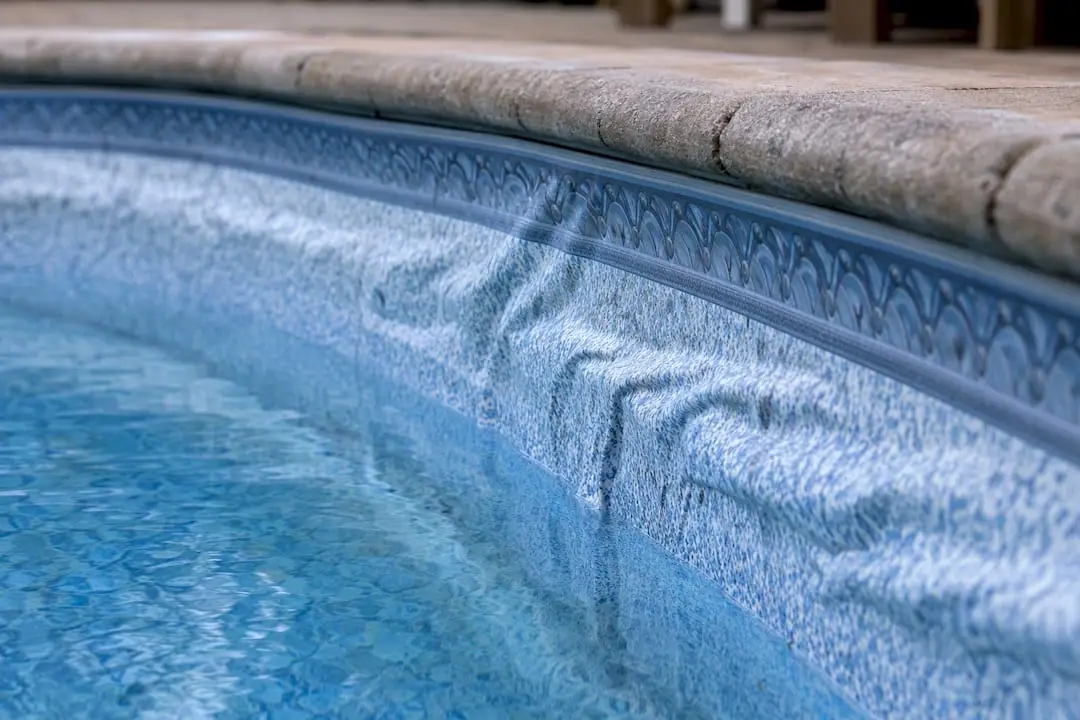
Draining too low is the most damaging mistake on vinyl liner pools. Without water pressure balancing the ground pressure outside the liner, hydrostatic forces can shift or tear it.
Reused rubber plugs are another quiet failure point. Old, dry-rotted plugs lose their seal and let backfill or water seep into lines you thought were protected, a detail worth checking before every closing. Adding algaecide while chlorine is still high wastes the treatment. And an improper blowout sequence, or capping returns before you’ve confirmed the line is actually clear, lets water sit and freeze right where you didn’t want it.
Professional Field Tips: What to DIY and What to Hire Out
Cleaning, vacuuming, and basic chemistry adjustments are well within DIY range for most homeowners. Plumbing blowouts, heater draining, and anything involving your equipment pad’s internal drain plugs are where hiring a professional pays off, especially since a missed drain plug on a heater can mean a cracked heat exchanger by spring.
A solid pro visit checks filter clamp integrity, confirms heater drain plugs are fully open, and labels valve positions for you. Book early. Pool professionals get busy fast once temperatures drop, and a documented plug and valve map makes spring opening painless instead of a guessing game.
A Pool Pro’s Take on Winterizing With Confidence
Most homeowners worry they’ll forget a step and pay for it in March. That’s a fair concern, and it’s exactly why sequence matters more than perfection. Get the chemistry and cleaning right yourself, then let a professional handle the blowout and heater drain. That’s the one place where a missed step turns into a real repair bill.
— Brian
Let We Fix Ugly Pools Handle the High-Risk Steps
Wefixuglypools is the alternative to guessing your way through a plumbing blowout or heater drain in the Phoenix area, where the wrong sequence can crack a housing you won’t discover until your first spring startup. Our seasonal closing service covers full equipment draining, line blowouts, skimmer plugging, and cover installation, plus an inspection that catches the plaster cracks, loose clamps, or aging equipment most homeowners miss until it’s a bigger repair.
When you book a winterization visit, expect a technician to walk your equipment pad, confirm manufacturer drain sequences for your specific pump and heater, and leave you with a labeled valve map for spring. If that walk-through turns up bigger issues, like liner damage or plaster wear, our pool repair and pool remodeling teams pick up right where the inspection leaves off. Schedule your closing appointment now, before the fall rush fills our calendar.
Sources
- How to winterize a pool (Pentair)
- How to close an inground pool (Swim University)
- Winterizing a Pool: Step-by-Step Closing Guide (PoolCareHelp)
- How to winterize a pool (Better Homes & Gardens)